

Flutter
Center 위젯
Center 위젯
위젯을 화면의 가운데로 정렬해볼게요.
그럴려면 위젯 Center를 사용합니다.
Center 위젯 사용하기
현재 사용중인 Text를 Center로 감싸야합니다.
child: Text(
    'pinkcoding',
    style: TextStyle(fontSize: 20, color:Colors.white),
    textAlign: TextAlign.center,
),
위의 코드에서 child에 Center 위젯을 추가하고 Center에 위젯을 추가하므로 child를 사용 후 Text위젯을 넣습니다.
하다보면 익숙해 지지만 처음에는 상당히 어려울거에요.
즉 위젯을 추가하고 그 안에 위젯을 하나 더 추가하려면 child를 사용하고 위젯을 추가합니다.
우선은 손에 익히도록 하기 위해 직접 타이핑해서 적응합시다.
그리고 이것을 매우 간단하게 해주는 단축키도 있습니다.
단축키도 설명해 드릴게요.
우선 위의 코드를 다음과 같이 변경합니다.
child: Center(
  child: Text(
    'pinkcoding',
    textAlign: TextAlign.right,
    style: TextStyle(fontSize: 20, color:Colors.white),
  ),
),
그럼 MyApp 클래스는 다음과 같습니다.
class MyApp extends StatelessWidget {
  @override
  Widget build(BuildContext context){
    return MaterialApp(
      title: 'hello',
      theme: ThemeData(
        primarySwatch: Colors.blue,
      ),
      home: Container(
        color: Colors.red,
        child: Center(
          child: Text(
            'pinkcoding',
            textAlign: TextAlign.right,
            style: TextStyle(fontSize: 20, color:Colors.white),
          ),
        ),
      ),
    );
  }
}
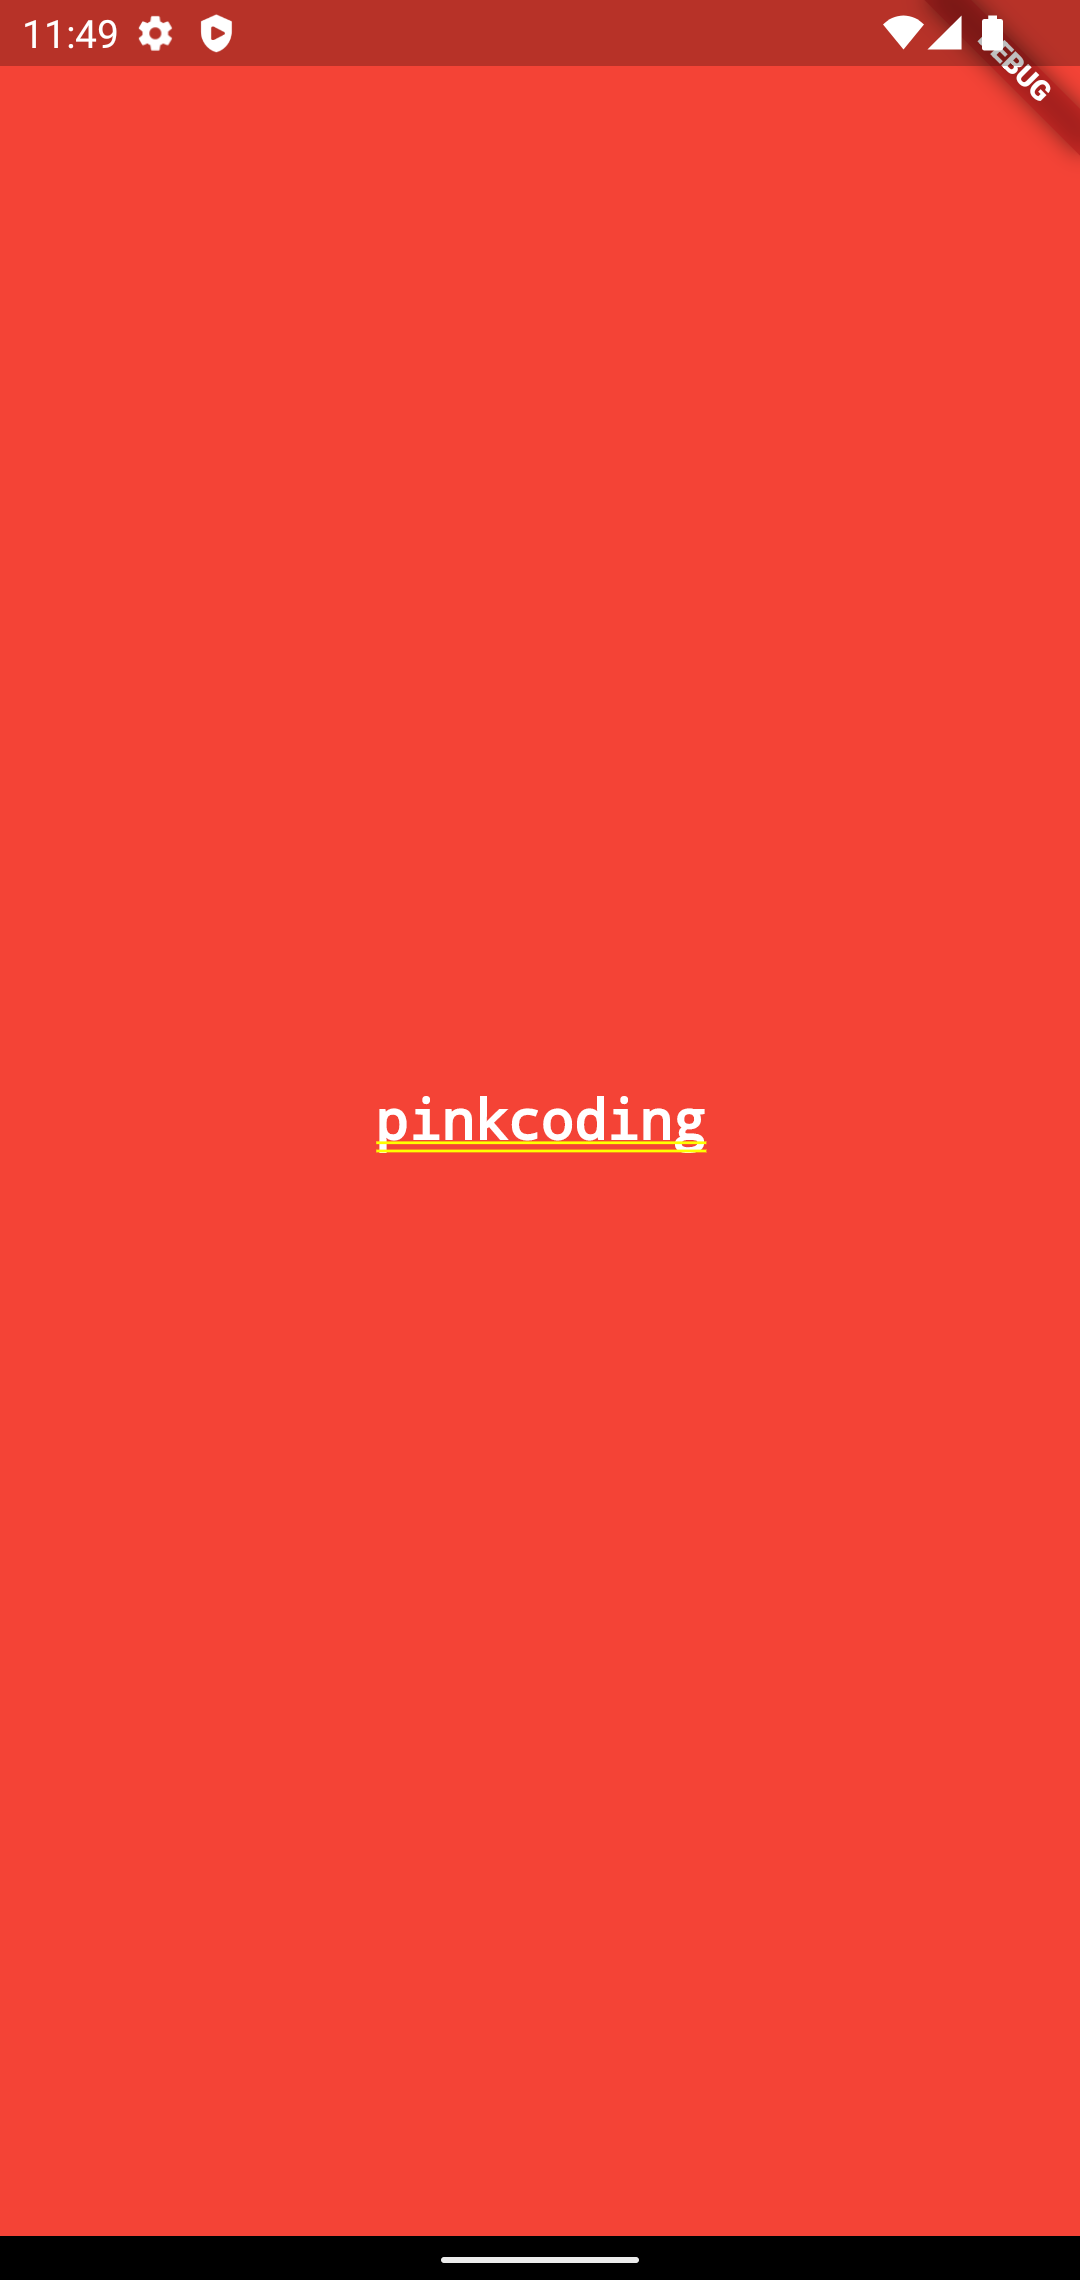
이번엔 앱의 세로도 가운데 정렬되어 정중앙에 위치해있네요.


