ReactJS
axios 데이터 출력하기
axios 데이터 출력하기

앞에서 했던 axios를 통해 받아온 데이터를 출력하겠습니다.
자, 그럼 다시 Device컴포넌트가 출력되도록 App.js파일을 수정합시다.
/src/App.js
import React from 'react';
import Device from './Device';

function App() {

    return (
        <div>
            <Device />
        </div>

    );
}

export default App;
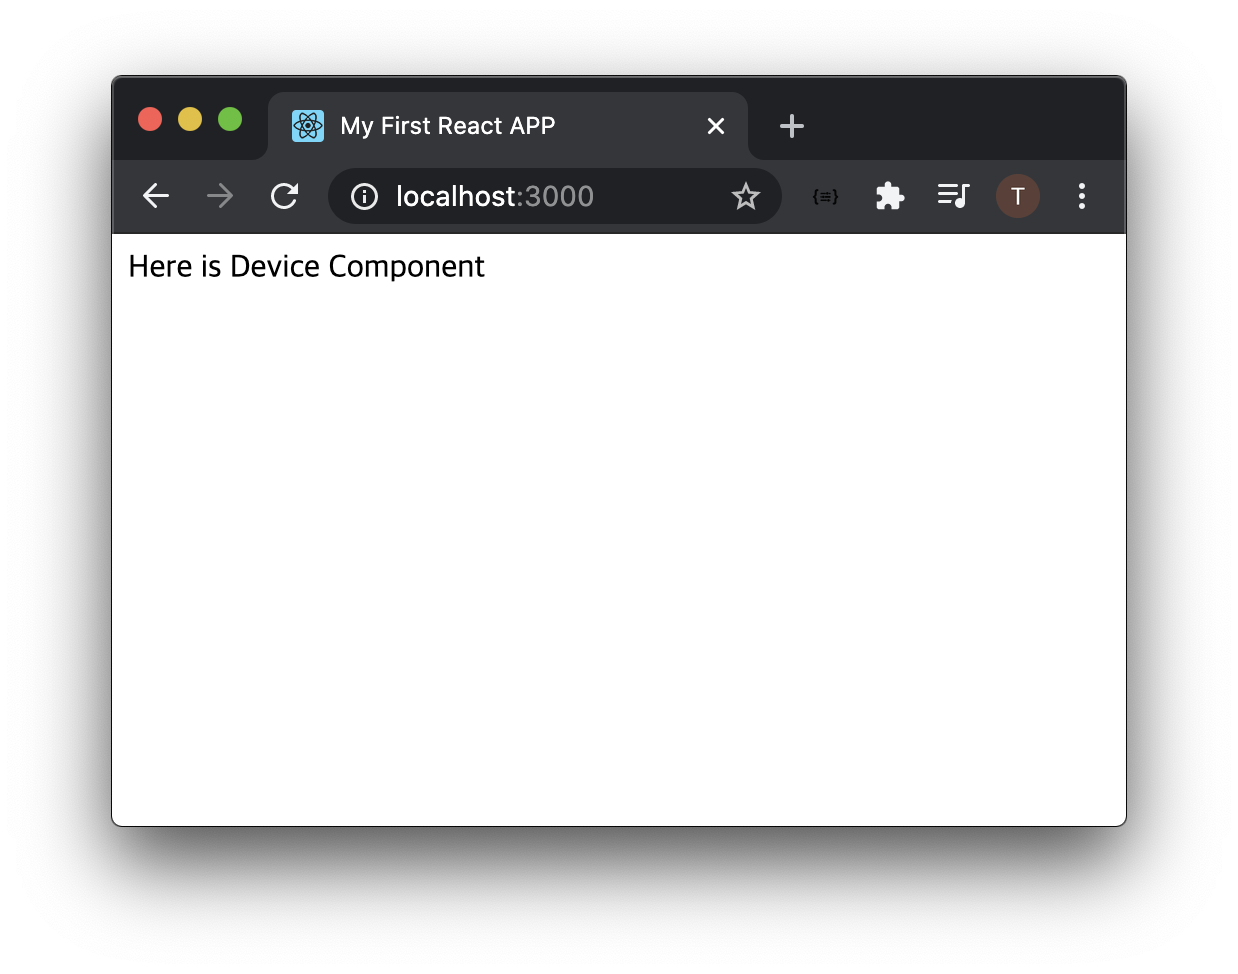
다음과 같이 다시 Device컴포넌트가 나타납니다.
그럼 Device.js 파일을에 state를 추가합시다.
state = {

};
Device데이터가 들어갈 변수는 data로 하겠습니다.
그럼 state를 다음과 같이 작성합니다.
state = {
    data : [],
};
배열을 적용하기때문에 []를 값으로 넣었습니다.
위의 state를 적용하면 코드는 다음과 같습니다.
/src/Device.js
import React, { Component } from 'react';
import axios from 'axios';

class Device extends Component {
    constructor(props) {
        super(props);
        console.log('in constructor');
    }

    state = {
        data : [],
    };

    getMyData = async () => {
        const data = await axios.get('https://www.pinkcoding.com/data/external/ReactJS/axios/');
        console.log('data is ' + JSON.stringify(data));
    };

    componentDidMount() {
        console.log('in componentDidMount');
        this.getMyData();
    }

    componentDidUpdate() {
        console.log('in componentDidUpdate');
    }

    componentWillUnmount() {
        console.log('in componentWillUnmount');
    }

    render() {
        return <div>Here is Device Component</div>;
    }
}

export default Device;
당연하지만 아직까지 화면의 결과는 변한게 없습니다.
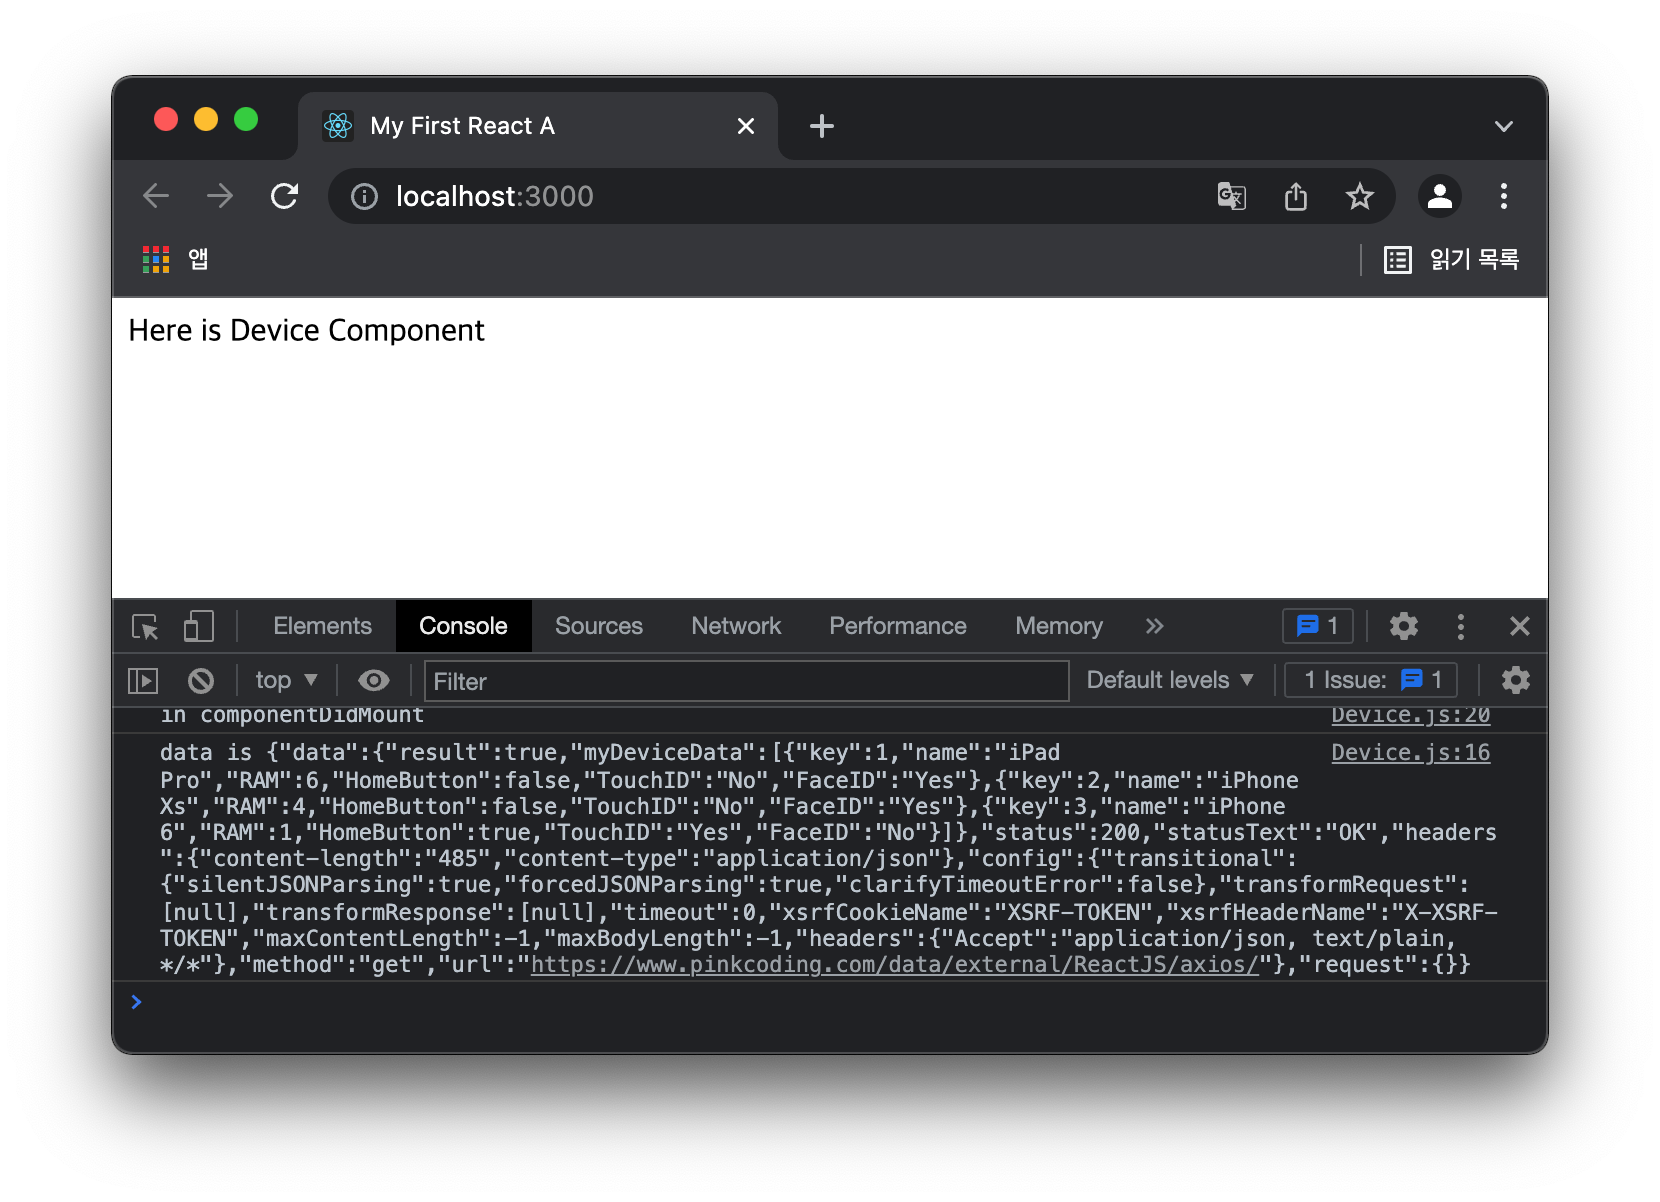
axios를 통해 받아온 데이터로 디바이스 목록까지 접근하려면 .연산자를 많이 사용해야합니다.
즉, getMyData함수 안의 콘솔로그 소스에 myDeviceData만 출력한다면...
console.log('data is ' + JSON.stringify(data.data.myDeviceData));
위와같이 접근 할 수 있습니다.
이 코드를 줄이기 위해 getMyData함수를 수정하겠습니다.
let data = await axios.get('https://www.pinkcoding.com/data/external/ReactJS/axios/');
data = data.data.myDeviceData;
console.log('data is ' + JSON.stringify(data));
const대신 let을 사용했습니다.
const는 상수이므로 값이 변하지 않기 때문에 다시 값을 대입하려면 사용할 수 없습니다.
콘솔로그 소스가 더 줄어들었죠?
그럼 이 값을 state에 적용합니다.
코드는 다음과 같습니다.
this.setState({data});
간단하죠?
그럼 최종적으로 getMyData함수는 다음과 같습니다.
let data = await axios.get('https://www.pinkcoding.com/data/external/ReactJS/axios/');
data = data.data.myDeviceData;
console.log('data is ' + JSON.stringify(data));
this.setState({data});
getMyData함수를 수정한 Device.js파일의 코드는 다음과 같습니다.
/src/Device.js
import React, { Component } from 'react';
import axios from 'axios';

class Device extends Component {
    constructor(props) {
        super(props);
        console.log('in constructor');
    }

    state = {
        data : [],
    };

    getMyData = async () => {
        let data = await axios.get('https://www.pinkcoding.com/data/external/ReactJS/axios/');
        data = data.data.myDeviceData;
        console.log('data is ' + JSON.stringify(data));
        this.setState({data});
    };

    componentDidMount() {
        console.log('in componentDidMount');
        this.getMyData();
    }

    componentDidUpdate() {
        console.log('in componentDidUpdate');
    }

    componentWillUnmount() {
        console.log('in componentWillUnmount');
    }

    render() {
        return <div>Here is Device Component</div>;
    }
}

export default Device;
화면상에 달라진건 없지만 콘솔로그에서는 디바이스 정보만 표시됩니다.
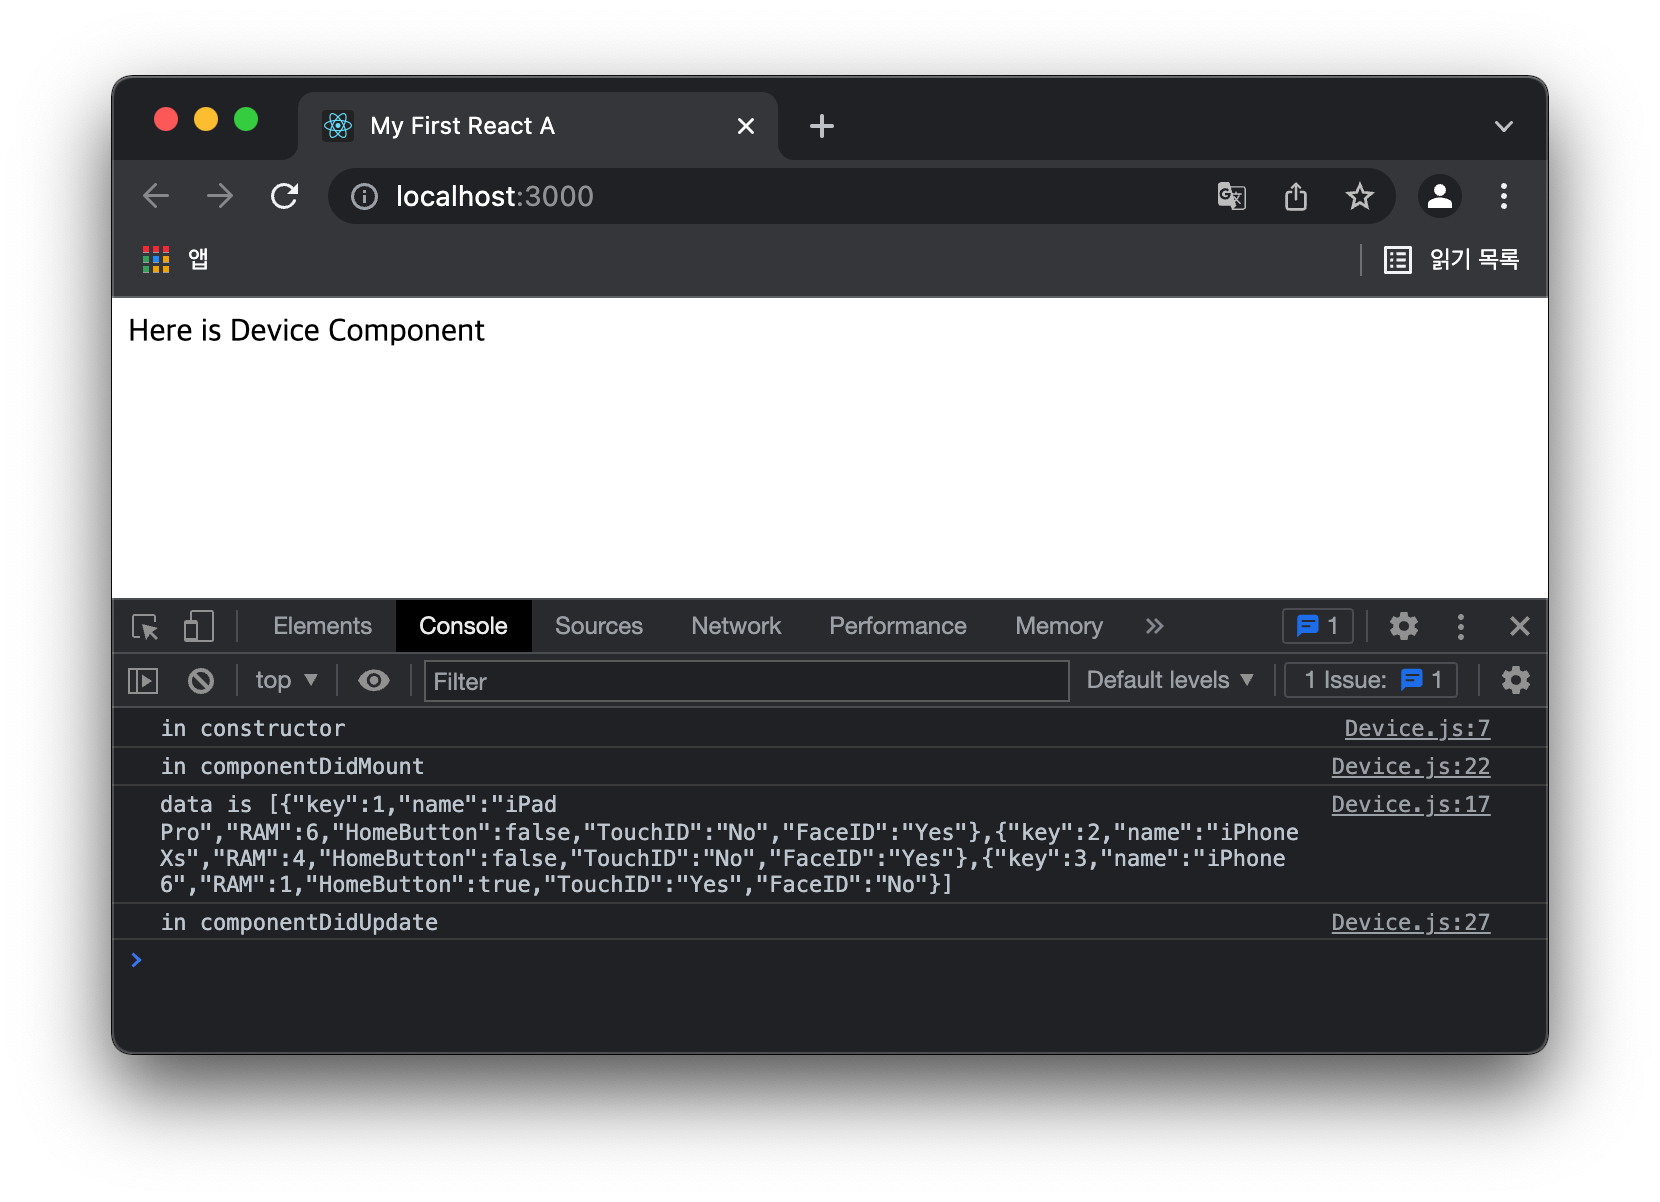
그럼 data state를 이번엔 출력해봅시다.
앞에서와 같이 map함수를 사용합니다.
state에 접근하기 위해 this.state를 사용했던거 기억하시죠?
render()함수안에 다음의 코드를 넣어서 결과를 봅시다.
console.log('is ' + JSON.stringify(this.state.data));
그럼 render() 함수는 다음과 같습니다.
render() {
    console.log('is ' + JSON.stringify(this.state.data));
    return <div>Here is Device Component</div>;
}
결과를 보면 다음과 같습니다.
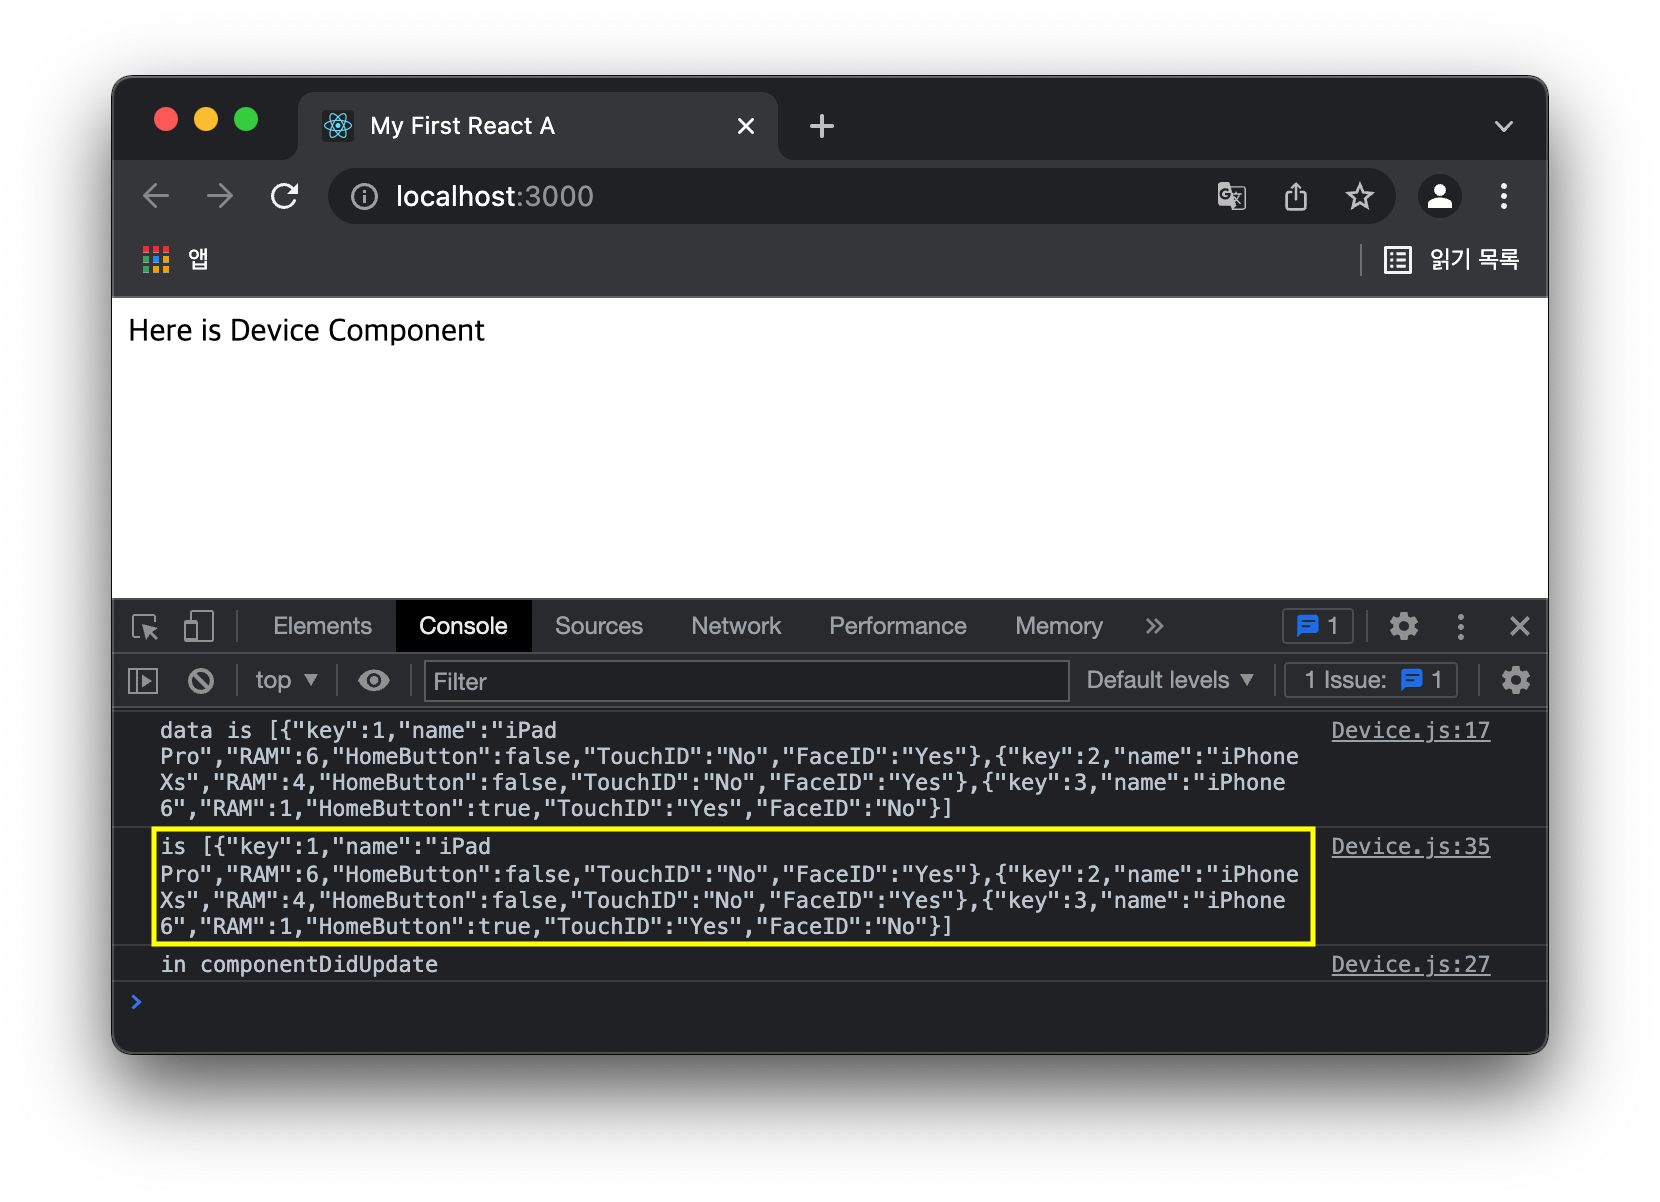
위의 이미지에 보이는 노란박스가 render()함수 안에서 실행된 내용입니다.
그럼 화면에 출력합시다.
render함수의 return문을 수정합니다.
return (
<div>
    {
    this.state.data.map((myDeviceData) => {
        return <p>name : { myDeviceData.name }</p>;
    })
    }
</div>
);
map함수안에서 데이터를 전달할 때 return문을 사용함을 잊지마세요.
자, 그럼 최종소스는 다음과 같습니다.
/src/Device.js
import React, { Component } from 'react';
import axios from 'axios';

class Device extends Component {
    constructor(props) {
        super(props);
        console.log('in constructor');
    }

    state = {
        data : [],
    };

    getMyData = async () => {
        let data = await axios.get('https://www.pinkcoding.com/data/external/ReactJS/axios/');
        data = data.data.myDeviceData;
        console.log('data is ' + JSON.stringify(data));
        this.setState({data});
    };

    componentDidMount() {
        console.log('in componentDidMount');
        this.getMyData();
    }

    componentDidUpdate() {
        console.log('in componentDidUpdate');
    }

    componentWillUnmount() {
        console.log('in componentWillUnmount');
    }

    render() {
        return (
            <div>
                {
                this.state.data.map((myDeviceData) => {
                    return <p>name : { myDeviceData.name }</p>;
                })
                }
            </div>
        );
    }
}

export default Device;
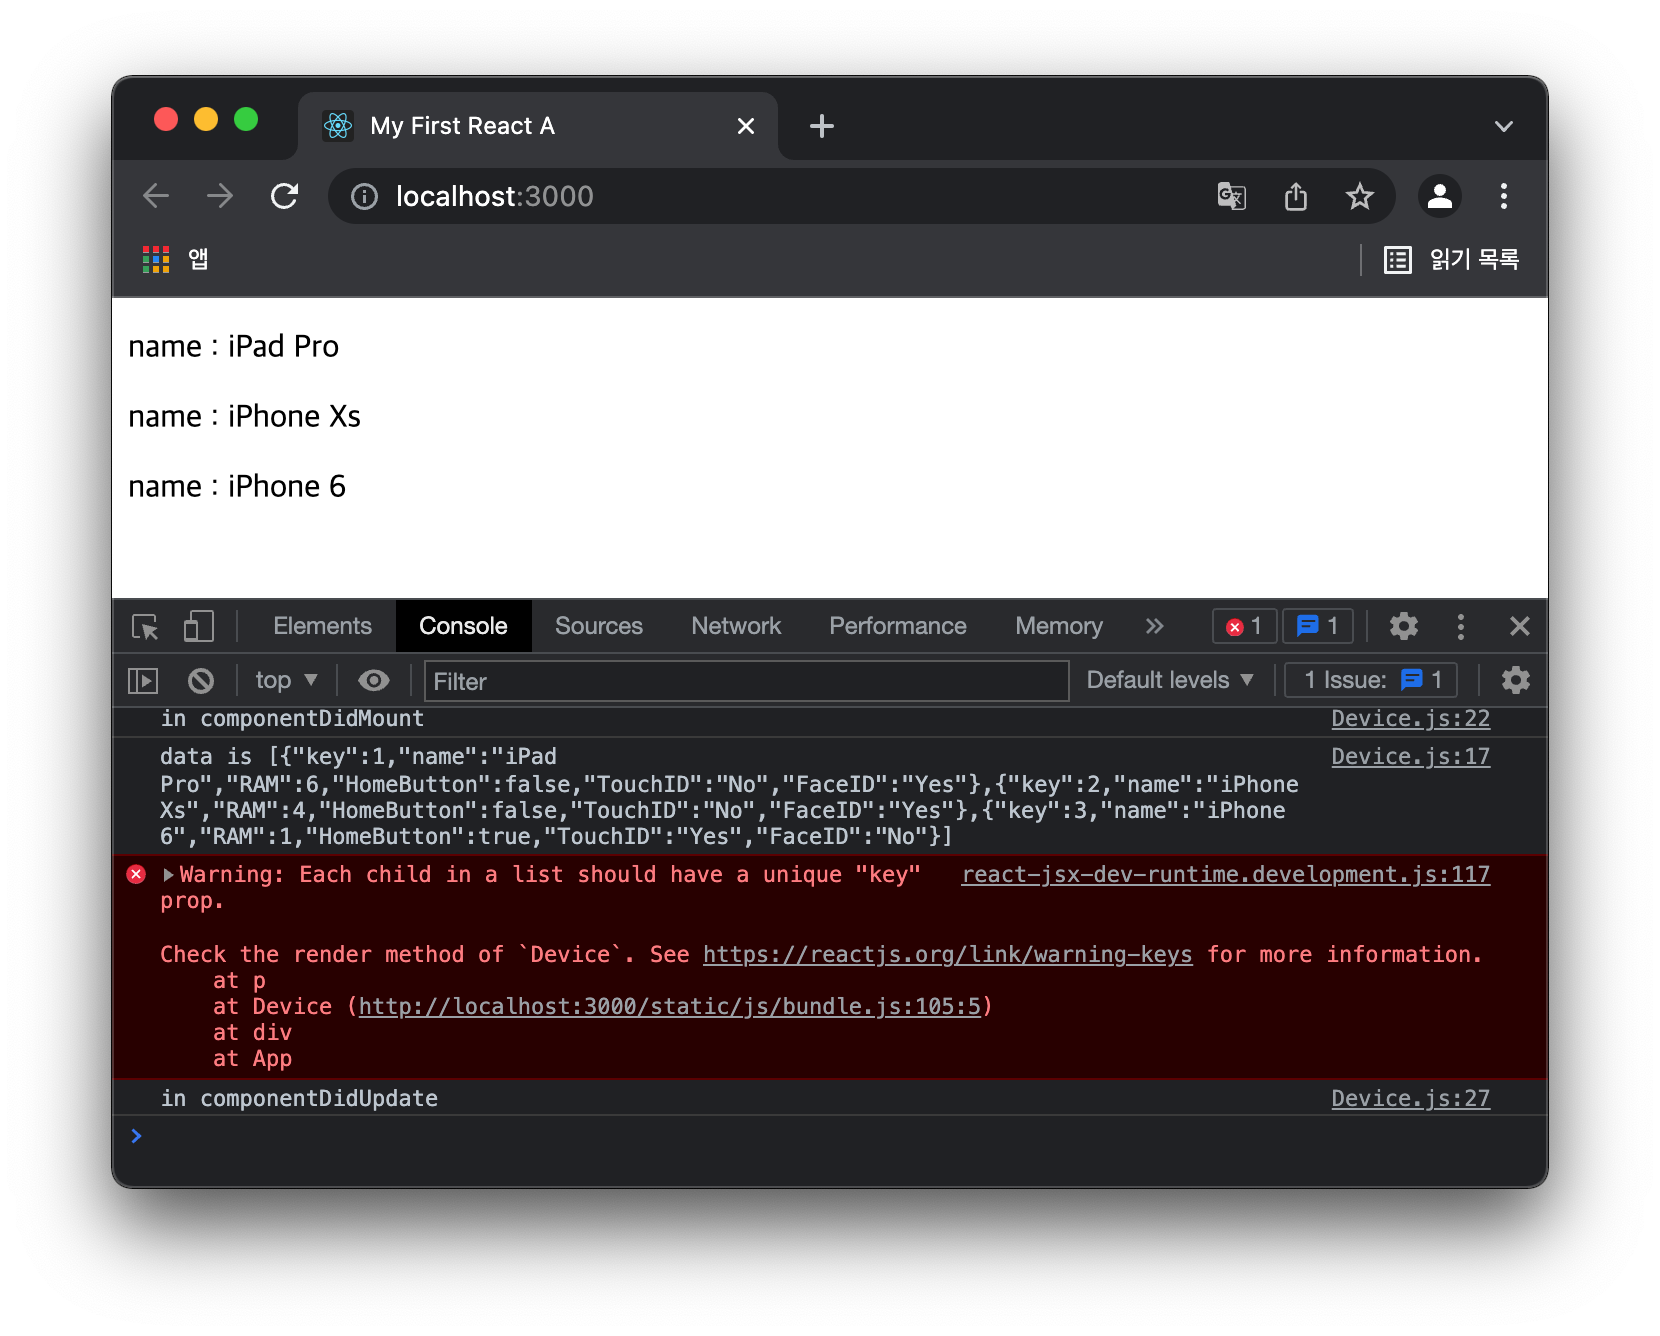
결과와 같이 이제 우리는 axios를 통해서 가져온 데이터를 화면에 출력했습니다. Yeah~!~!~!~!
하지만 콘솔로그를 보면 다음의 경고문구가 있습니다.
index.js:1 Warning: Each child in a list should have a unique "key" prop.
ReactJS는 각 데이터마다 고유번호가 있어야합니다.
그 값은 key이름을 사용합니다.
p태그의 속성에 key속성을 추가하고 key값을 입력해줍니다.
Device.js 파일의 render에 있는 다음의 코드를 수정할게요.
return <p>name : { myDeviceData.name }</p>;
p태그에 key속성을 추가하고 key값 적용하면...
return <p key={ myDeviceData.key }>name : { myDeviceData.name }</p>;
그럼 render함수의 최종코드는 다음과 같습니다.
아니, 혹시 모르니 Device.js파일의 전체 코드를 표시할게요.
혹시 모른다는 의미는 누군가는 헤멜수 있기 때문입니다.
/src/Device.js
import React, { Component } from 'react';
import axios from 'axios';

class Device extends Component {
    constructor(props) {
        super(props);
        console.log('in constructor');
    }

    state = {
        data : [],
    };

    getMyData = async () => {
        let data = await axios.get('https://www.pinkcoding.com/data/external/ReactJS/axios/');
        data = data.data.myDeviceData;
        console.log('data is ' + JSON.stringify(data));
        this.setState({data});
    };

    componentDidMount() {
        console.log('in componentDidMount');
        this.getMyData();
    }

    componentDidUpdate() {
        console.log('in componentDidUpdate');
    }

    componentWillUnmount() {
        console.log('in componentWillUnmount');
    }

    render() {
        return (
            <div>
                {
                this.state.data.map((myDeviceData) => {
                    return <p key={ myDeviceData.key }>name : { myDeviceData.name }</p>;
                })
                }
            </div>
        );
    }
}

export default Device;
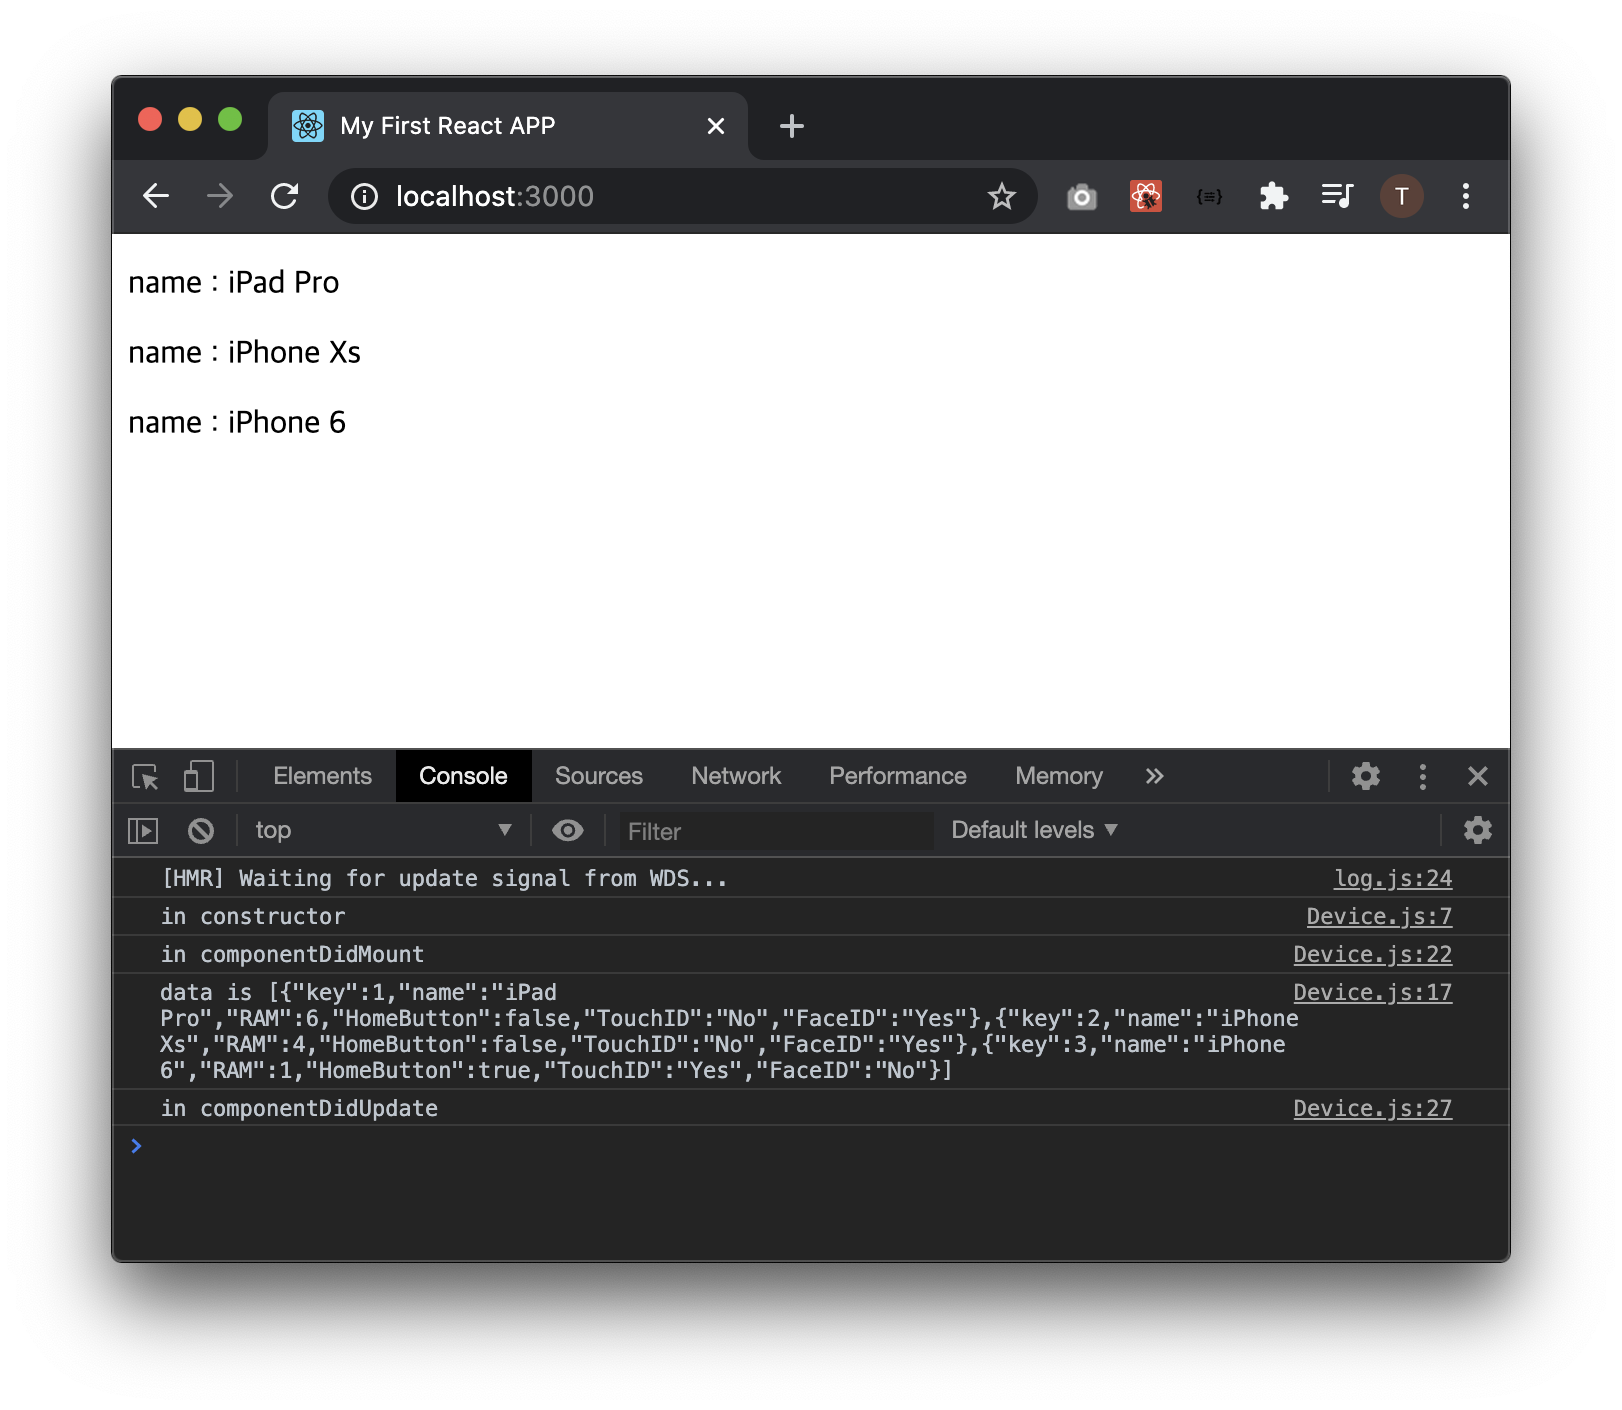
자 이제 오류없이 깔끔하게 데이터가 표시됩니다.. ^^


