

iOSApp-Storyboard
프로젝트 2 - 아이템 배치하기
프로젝트 2 - 아이템 배치하기
이번시간에 프로젝트에 사용할 아이템들을 배치하겠습니다.
우리가 만들 앱은 다음과 같이 생겨먹었습니다.
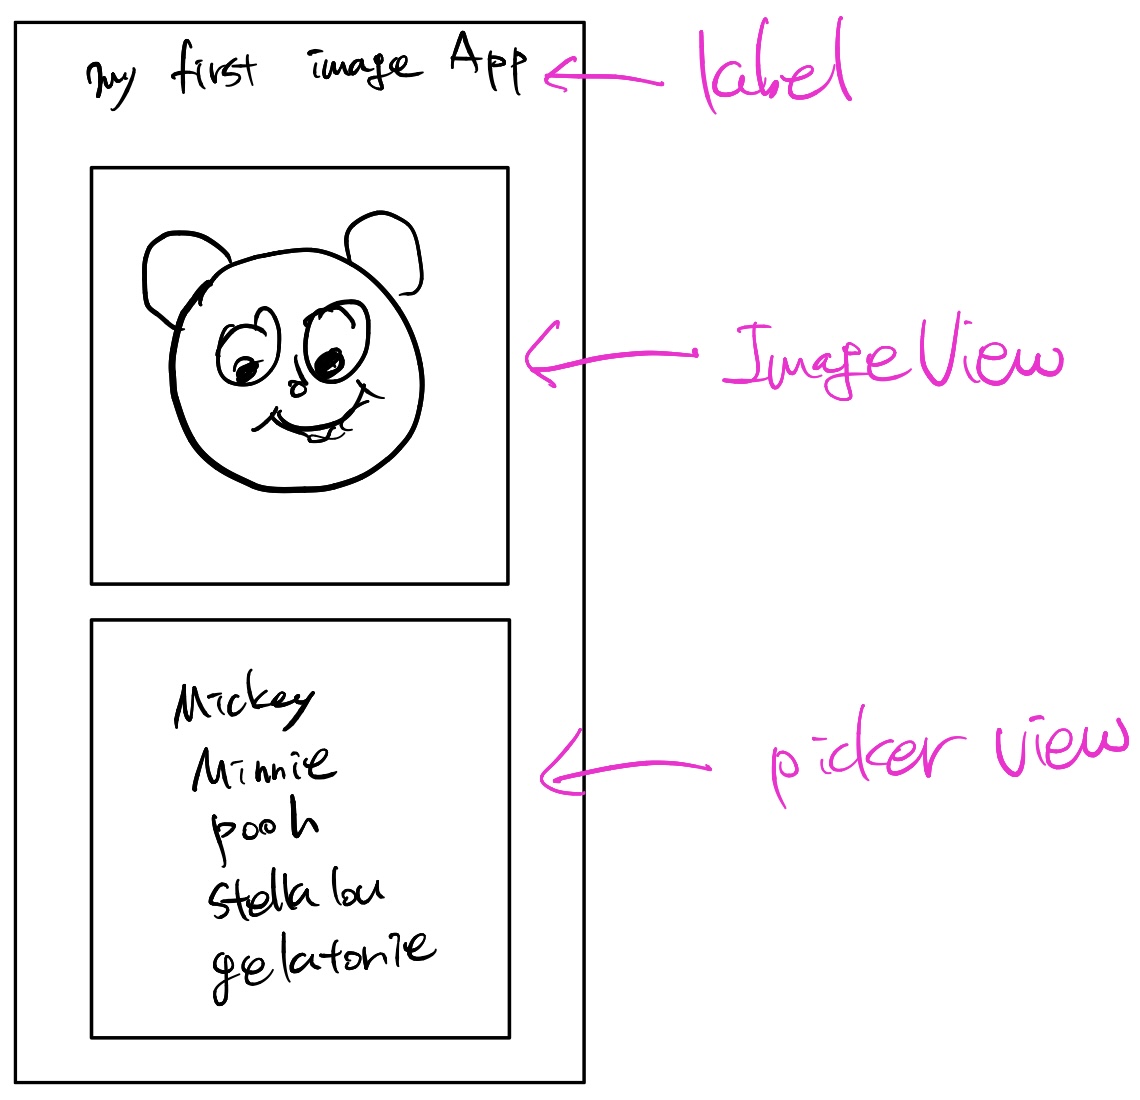
죄송합니다. 제가 디자인 감각이 없다보니;;;
위에는 앱의 이름이 있고 그 다음은 Image View를 사용해 이미지가 나타나고
그 다음은 이미지의 목록이 나타납니다. 이 목록은 라이브러리에서 Picker View를 사용합니다.
자 그럼 Label, Image View, Picker View를 배치합시다.
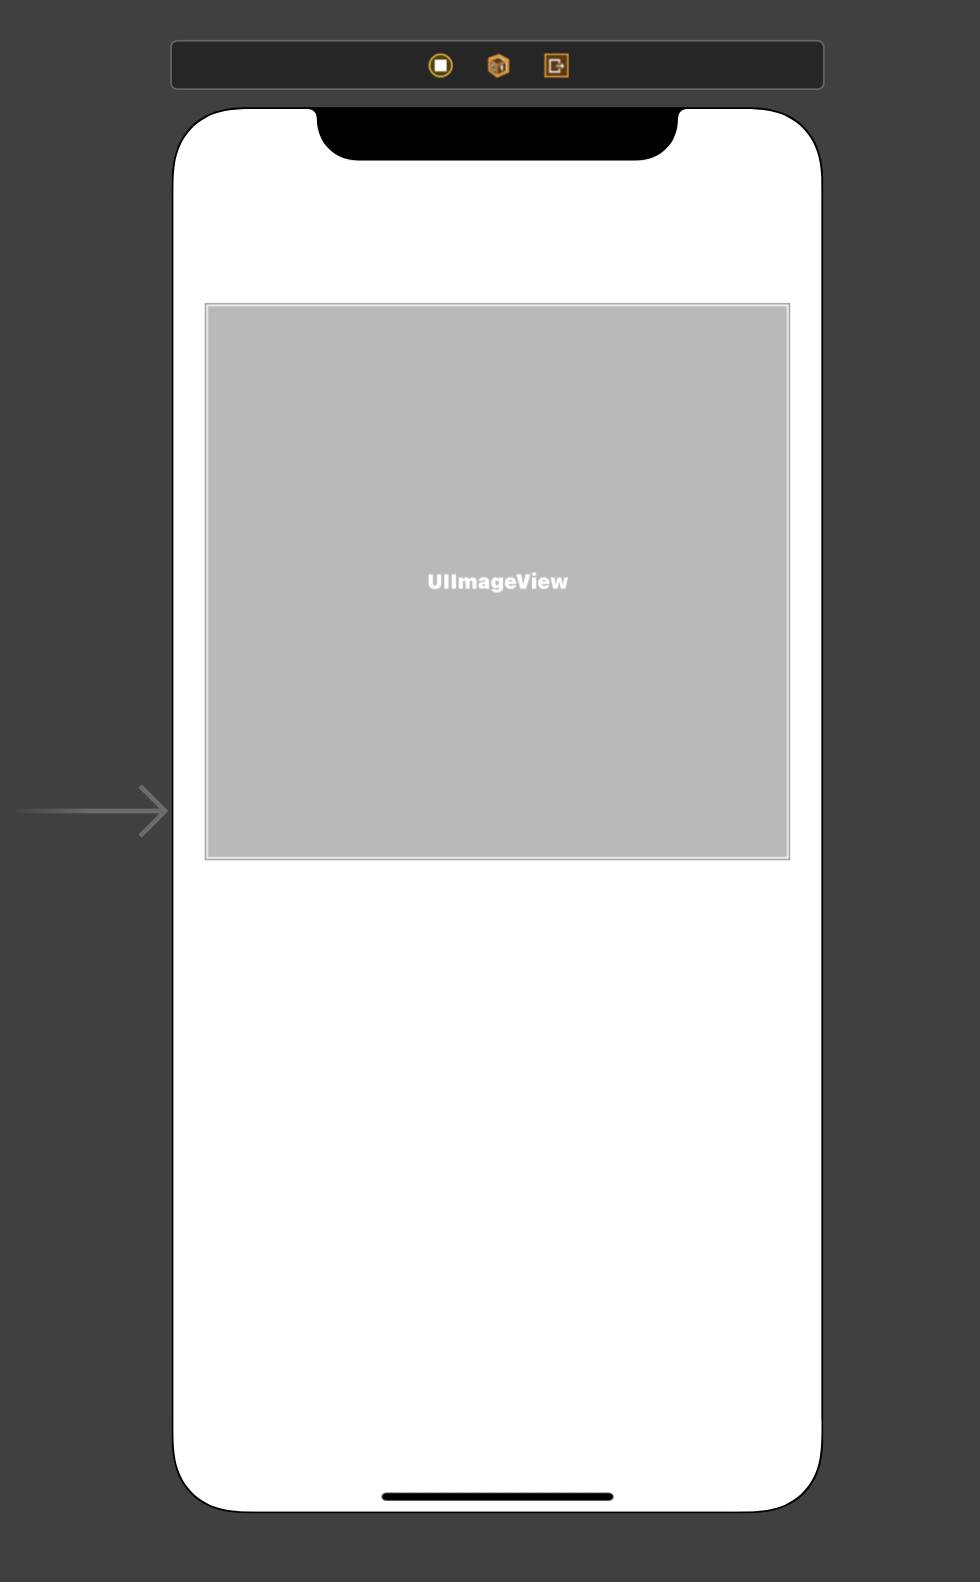
우선 Image View를 다음과 같이 크기를 조정합니다. 위에 Label을 위치시킬 공간도 염두합니다.
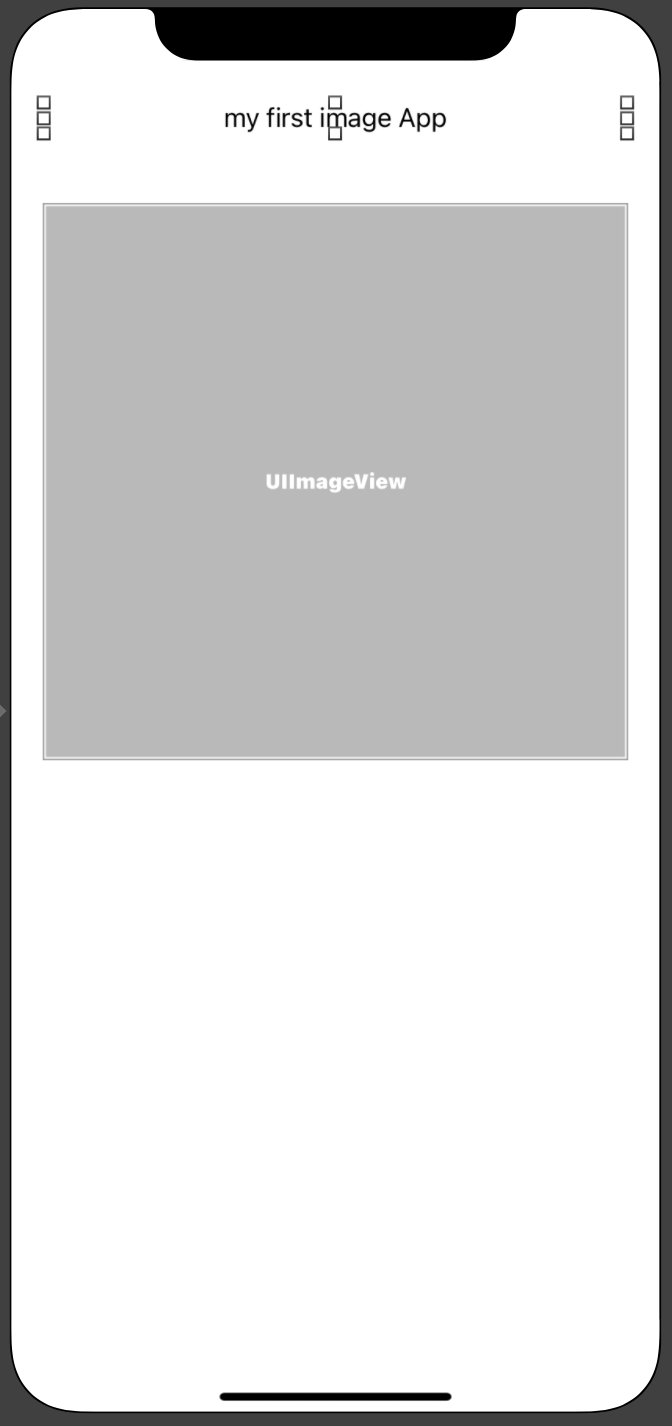
이번에는 Label을 Image View 위에 위치시키고 my first image App을 적습니다.
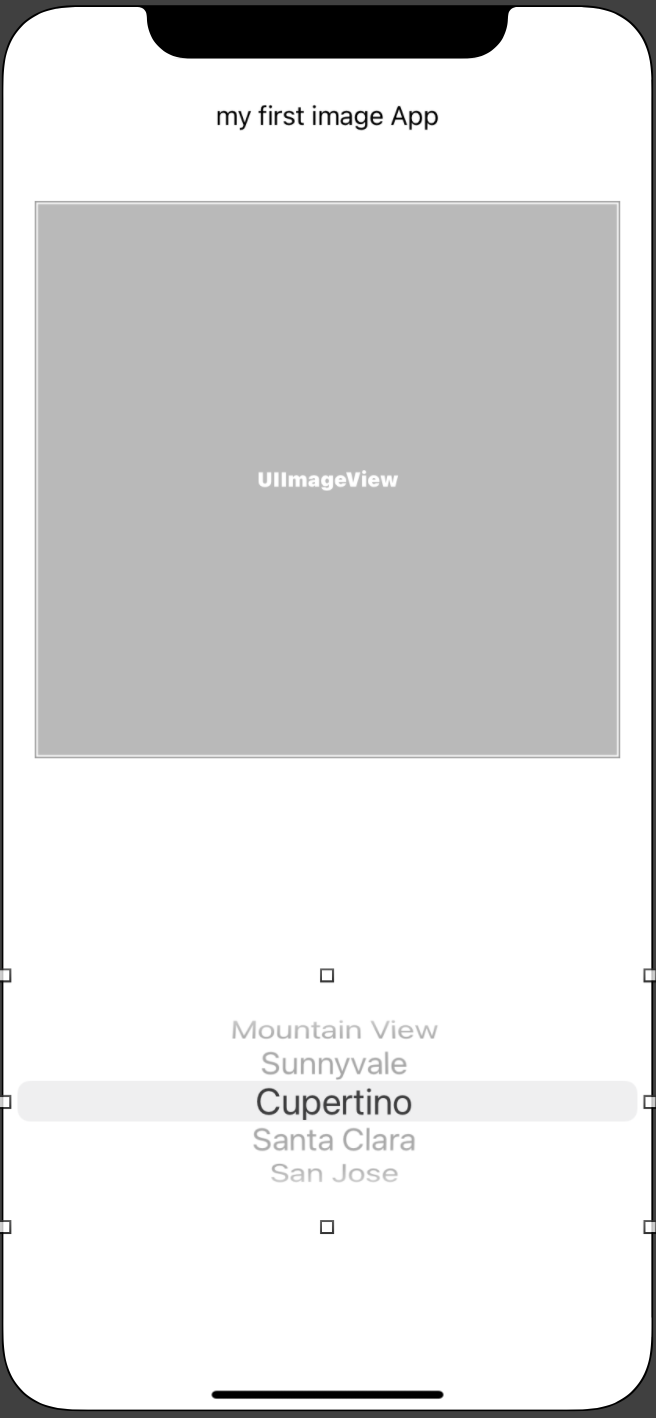
다음으로 Picker View를 배치하겠습니다.
Picker View는 처음 사용하기때문에 동영상으로도 만들게요.
Picker View를 배치시키면 다음과 같습니다.
자, 그럼 잘 나오는지 시뮬레이터로 실행해봅시다.
다음의 이미지 중 둘 중 하나와 같이 나타나면 정상입니다.
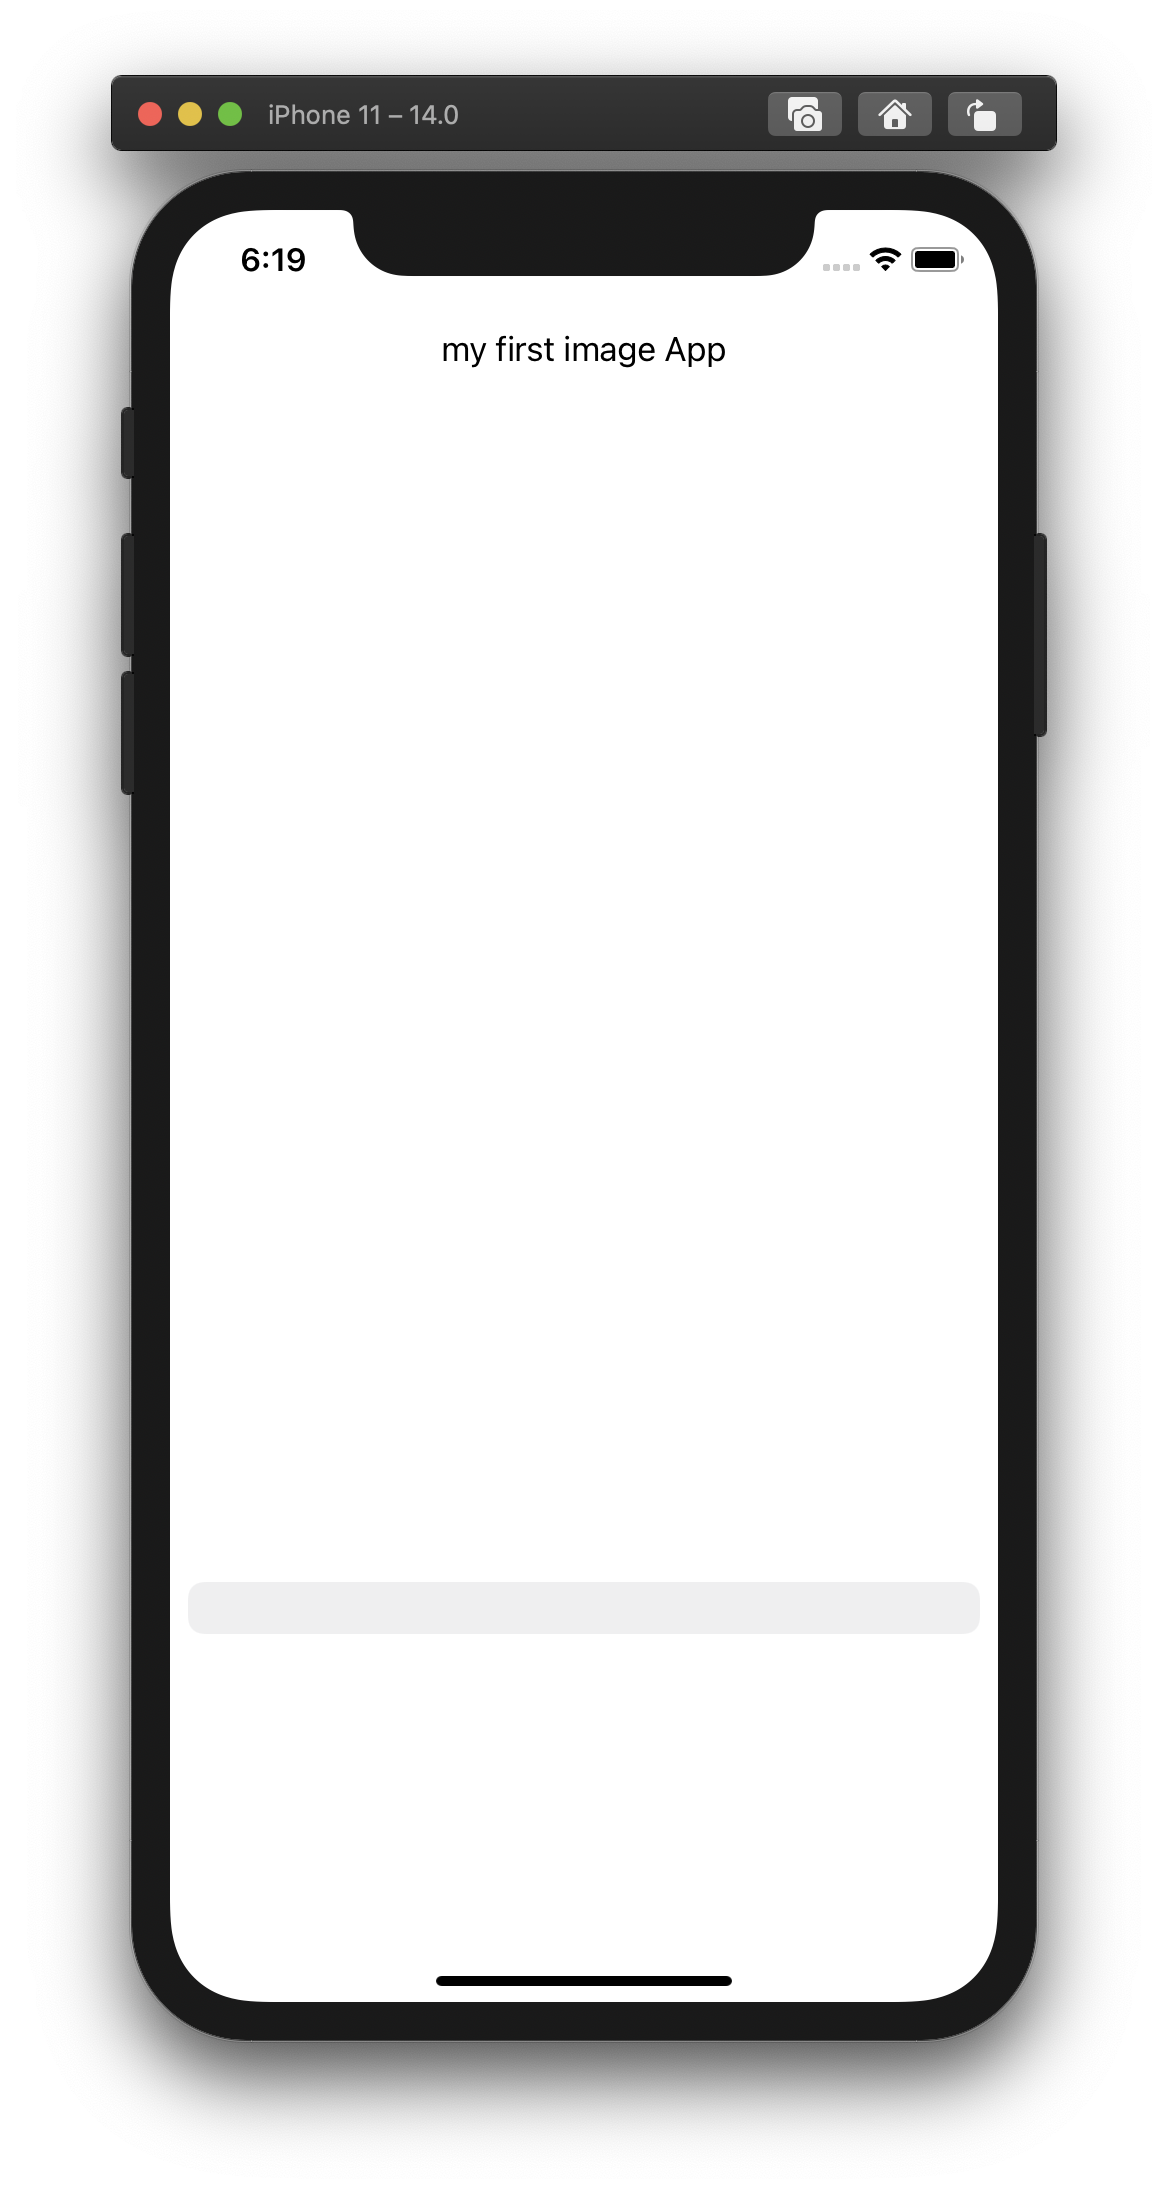
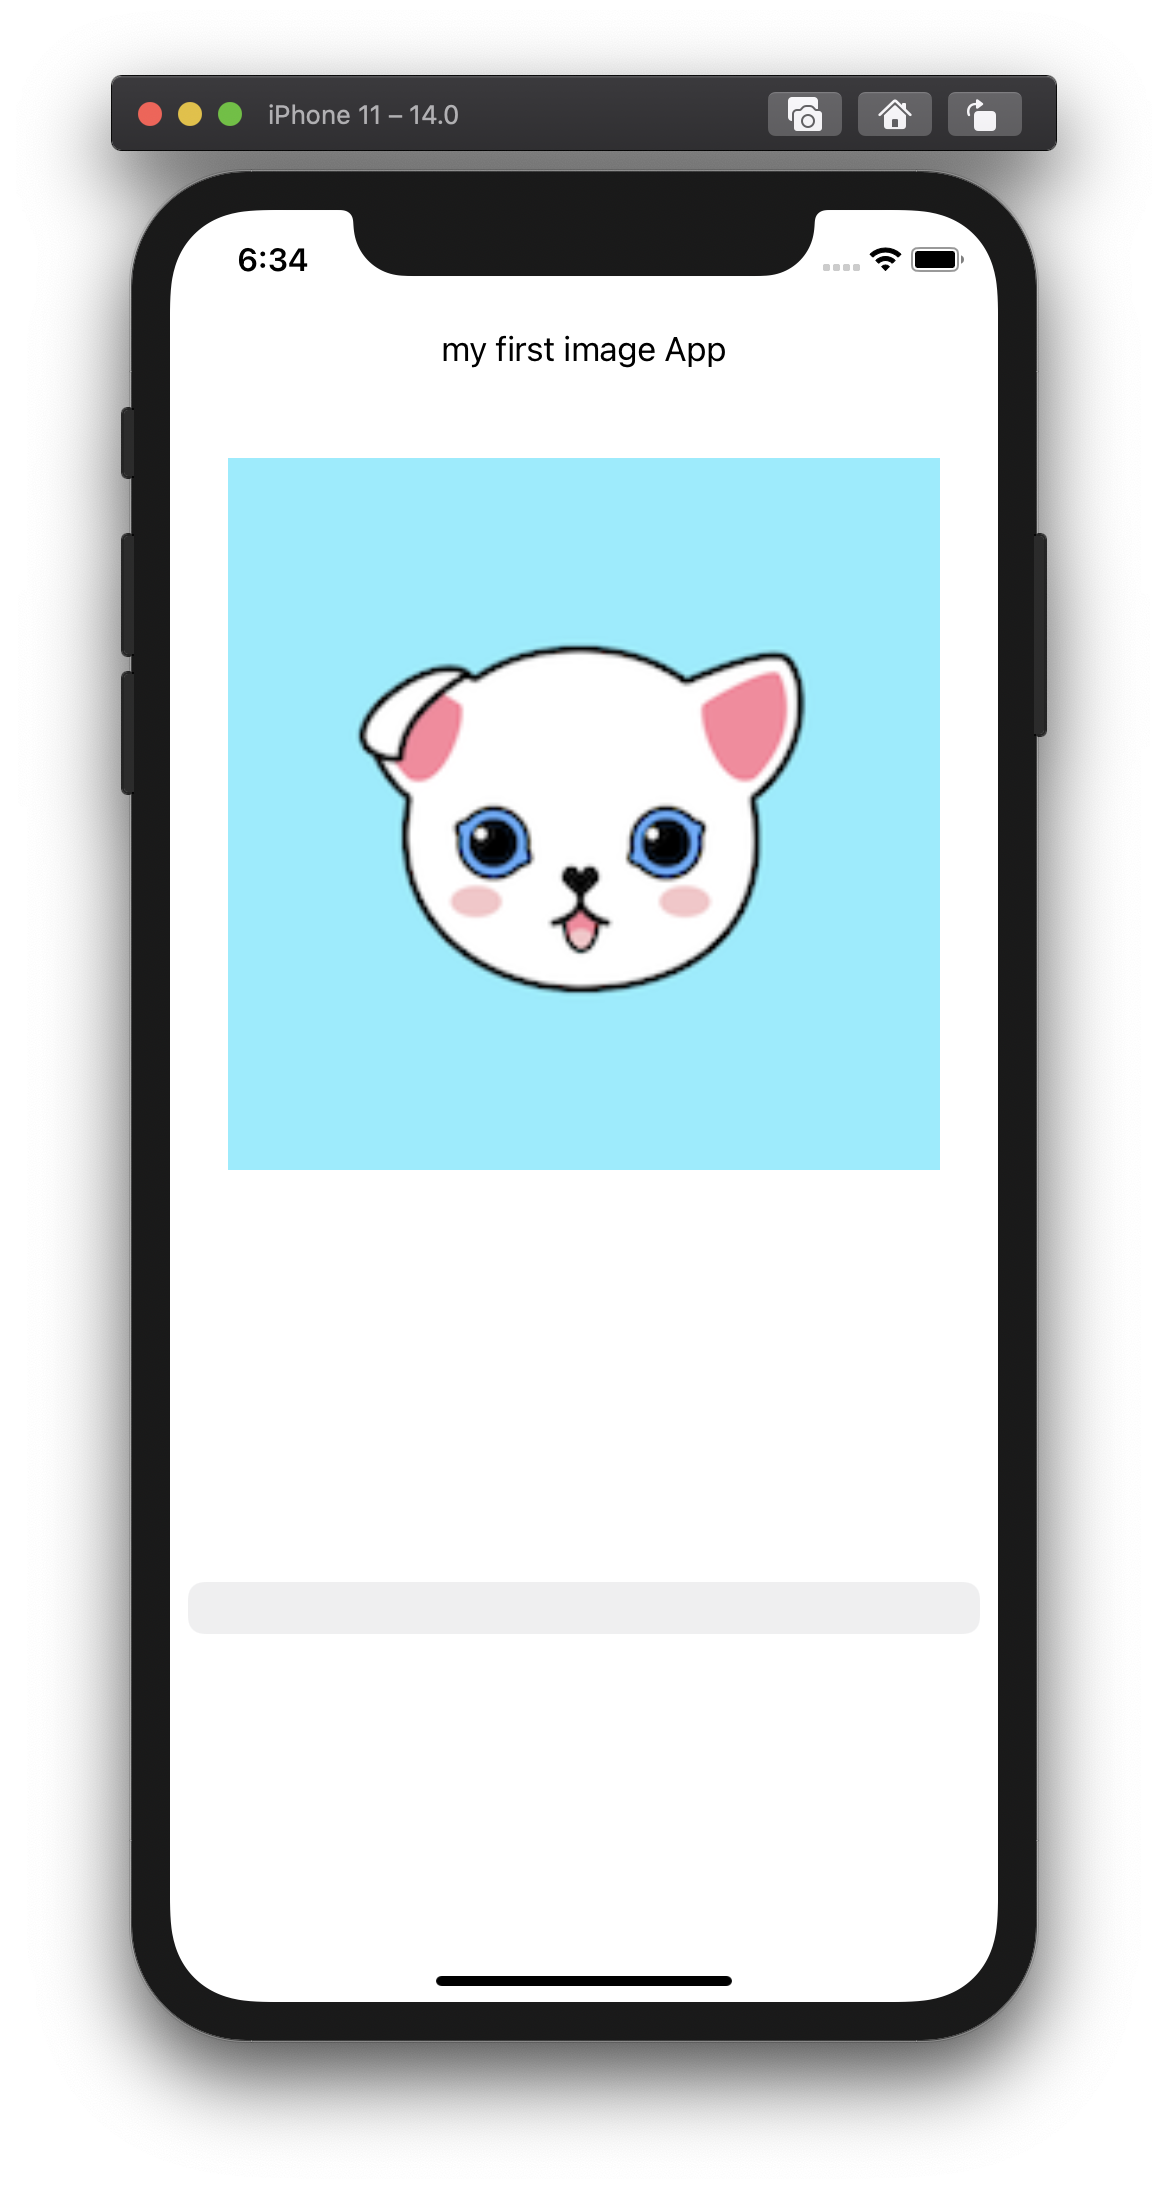
Picker View의 경우는 우리가 아직 아무것도 안했기 때문에 아무것도 안나타납니다. ^^
그럼 다음시간에는 기능을 만들어봅시다.


