

git
깃허브 액세스 토큰 생성
깃허브 액세스 토큰 생성

remote: Support for password authentication was removed on August 13, 2021. Please use a personal access token instead.
remote: Please see https://github.blog/2020-12-15-token-authentication-requirements-for-git-operations/ for more information.
fatal: unable to access 'https://github.com/madplay/~~~.git/': The requested URL returned error: 403
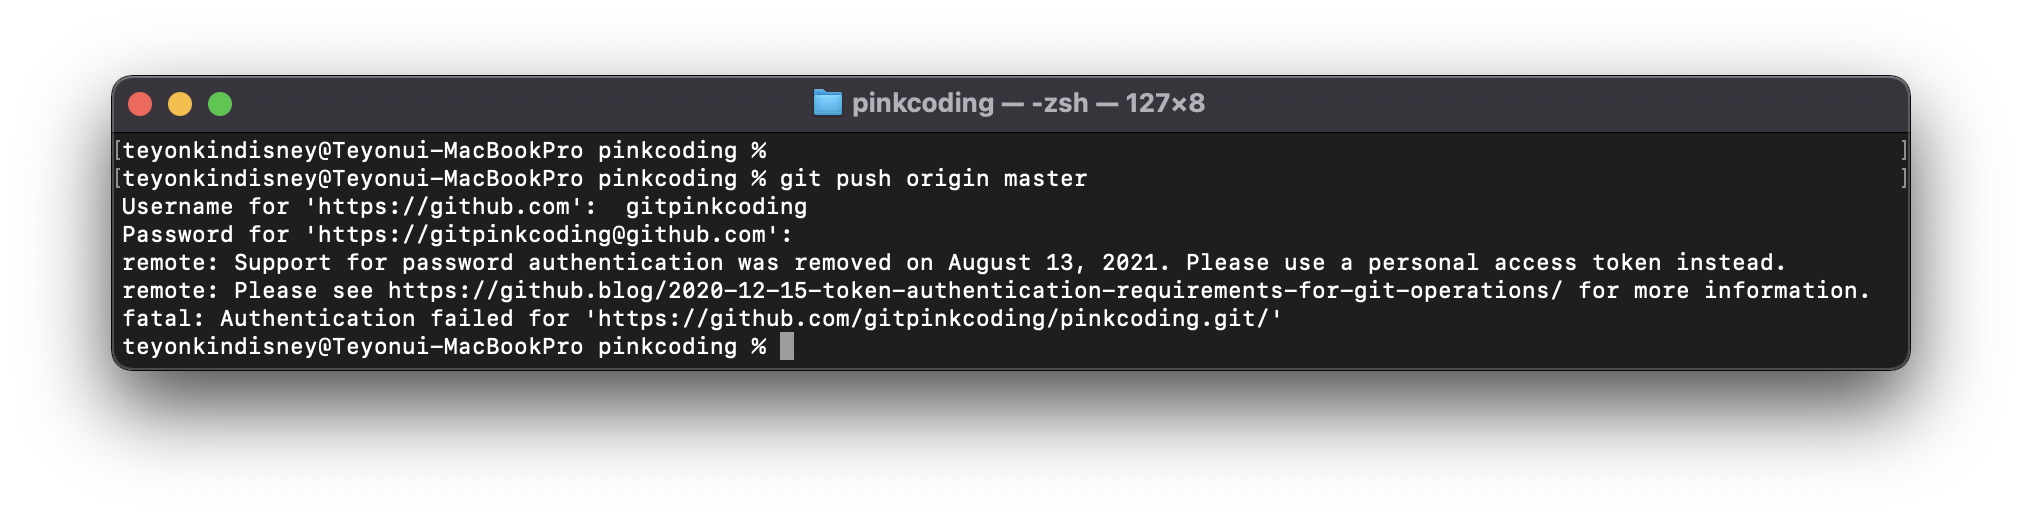
git을 사용하는데 위와 같은 오류가 어느날 갑자기 나타났을겁니다.
이전부터 계속 git에서 토큰을 사용해 이용하라는 메일도 자주 받았을거에요.
귀찮아서 안했는데 이제는 아이디와 비밀번호를 사용해서는 이용할 수 없게 막아버렸네요.
그러면 토큰을 사용해 git을 이용해 봅시다.
1. GitHub사이트 접속
github 사이트 링크2. GitHub사이트 Settings 페이지 진입
로그인을 하면 다음의 화면이 나타납니다.
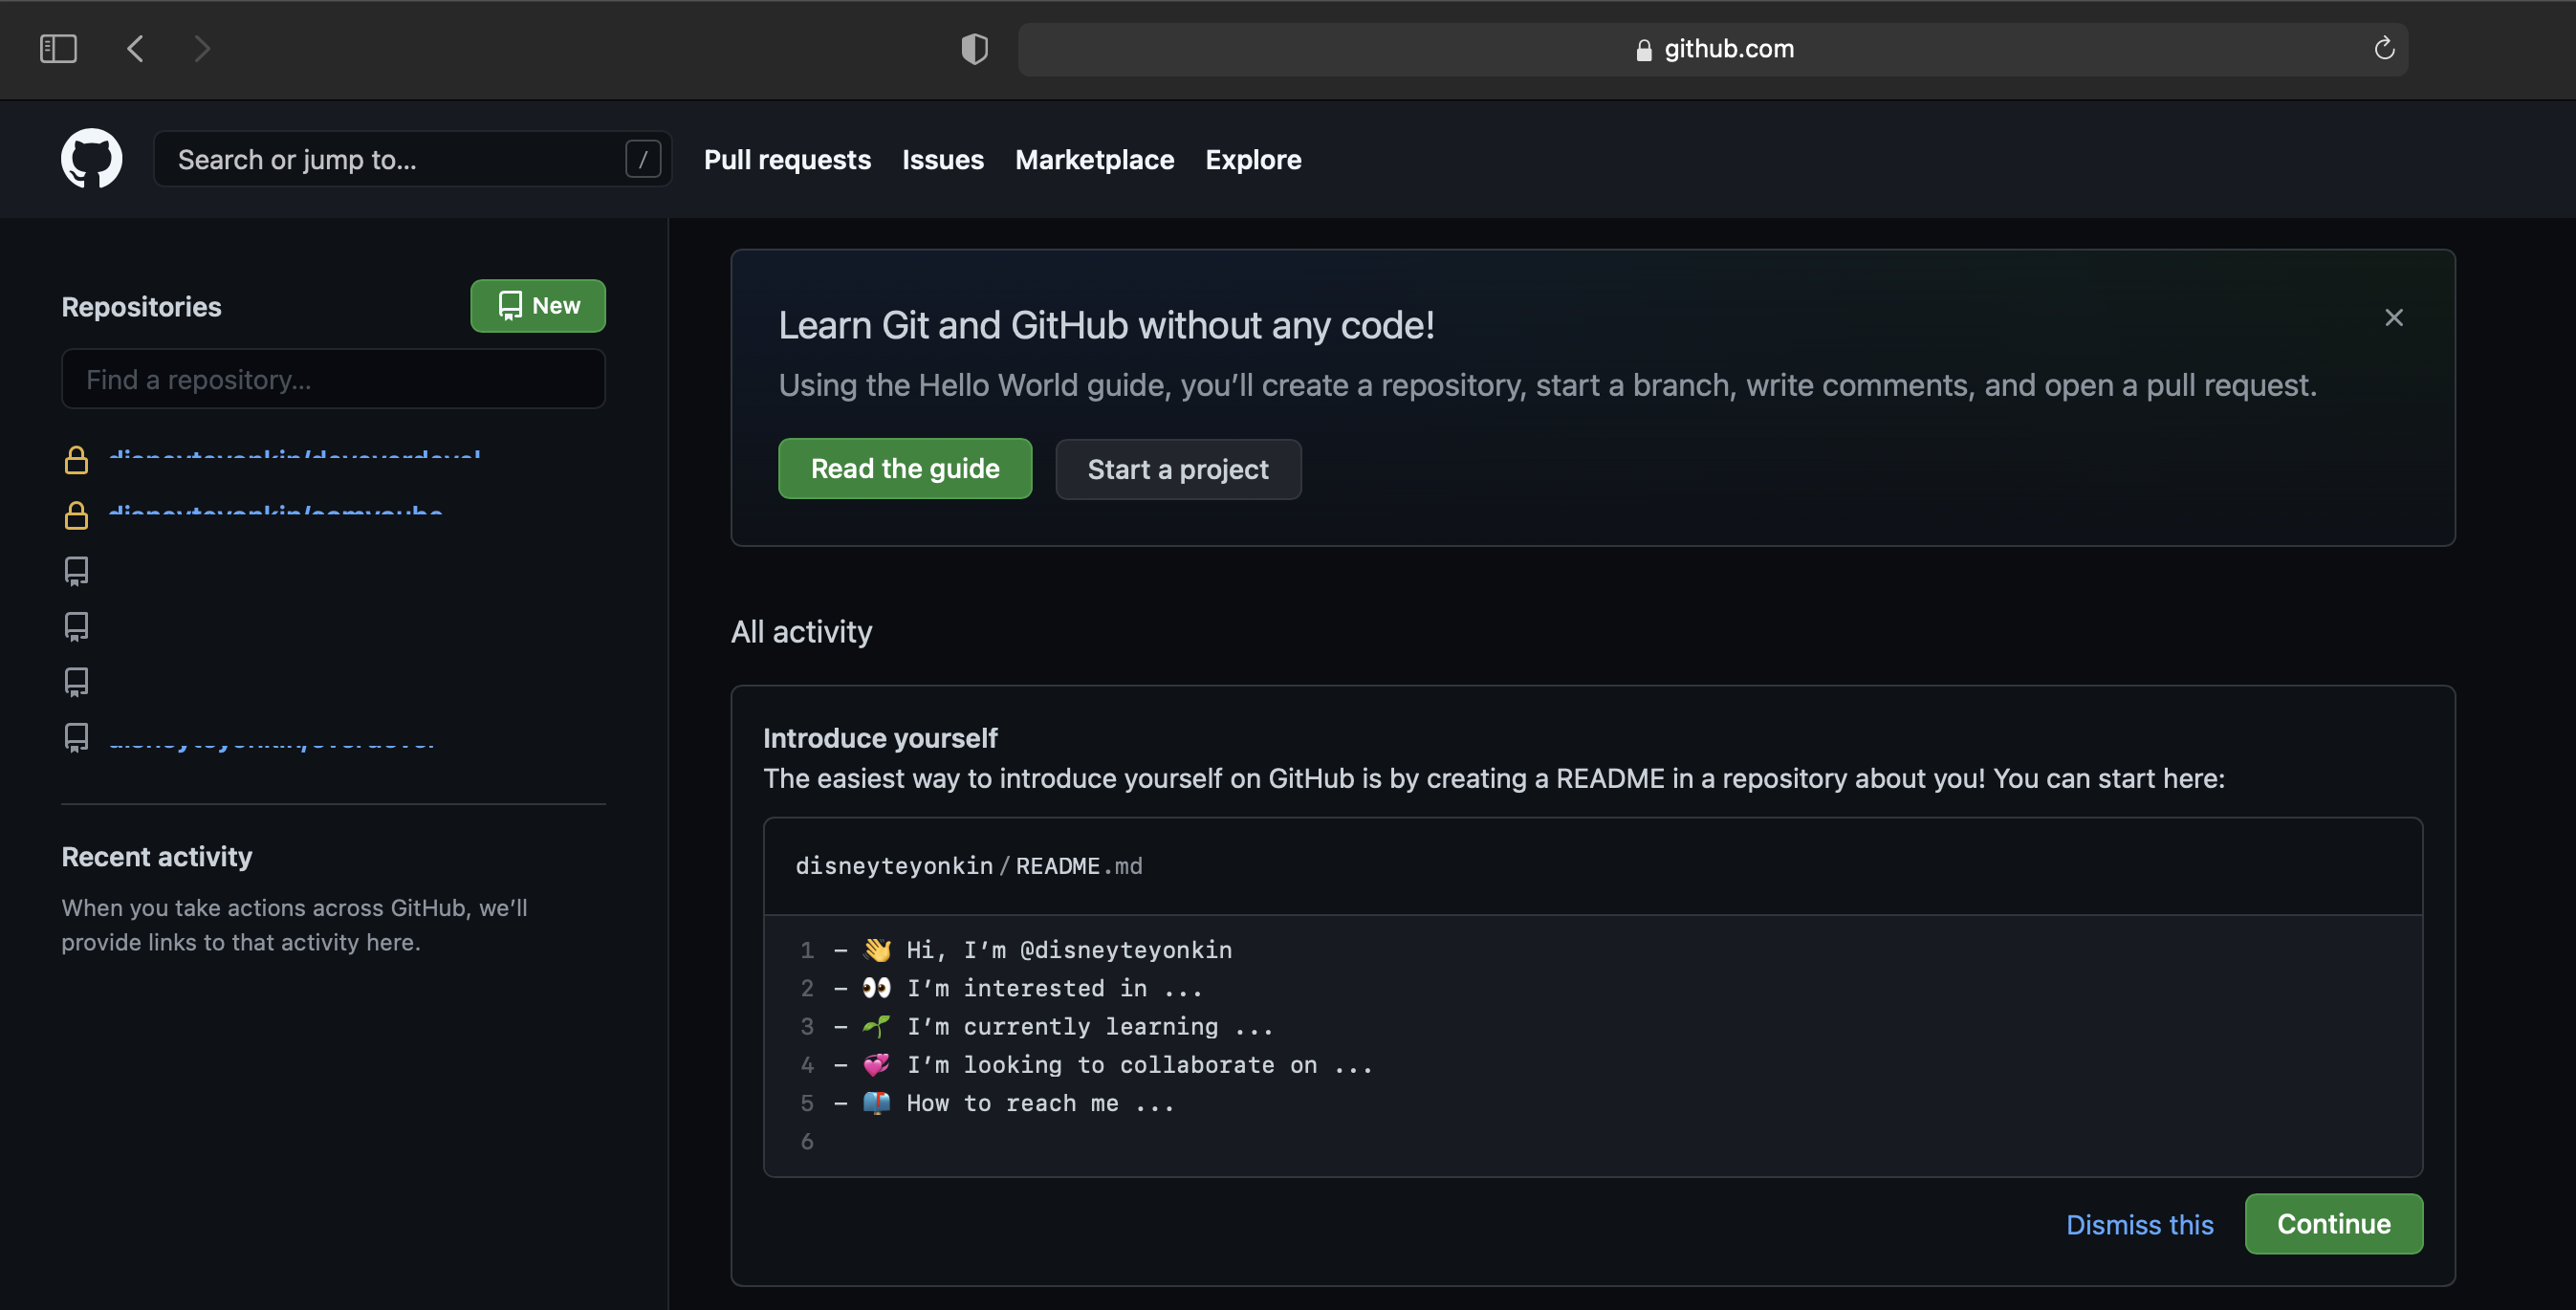
위의 이미지에서 오른쪽 상단에 보면 프로필 영역이 있습니다. 클릭하면 다음의 이미지가 나타닙니다.
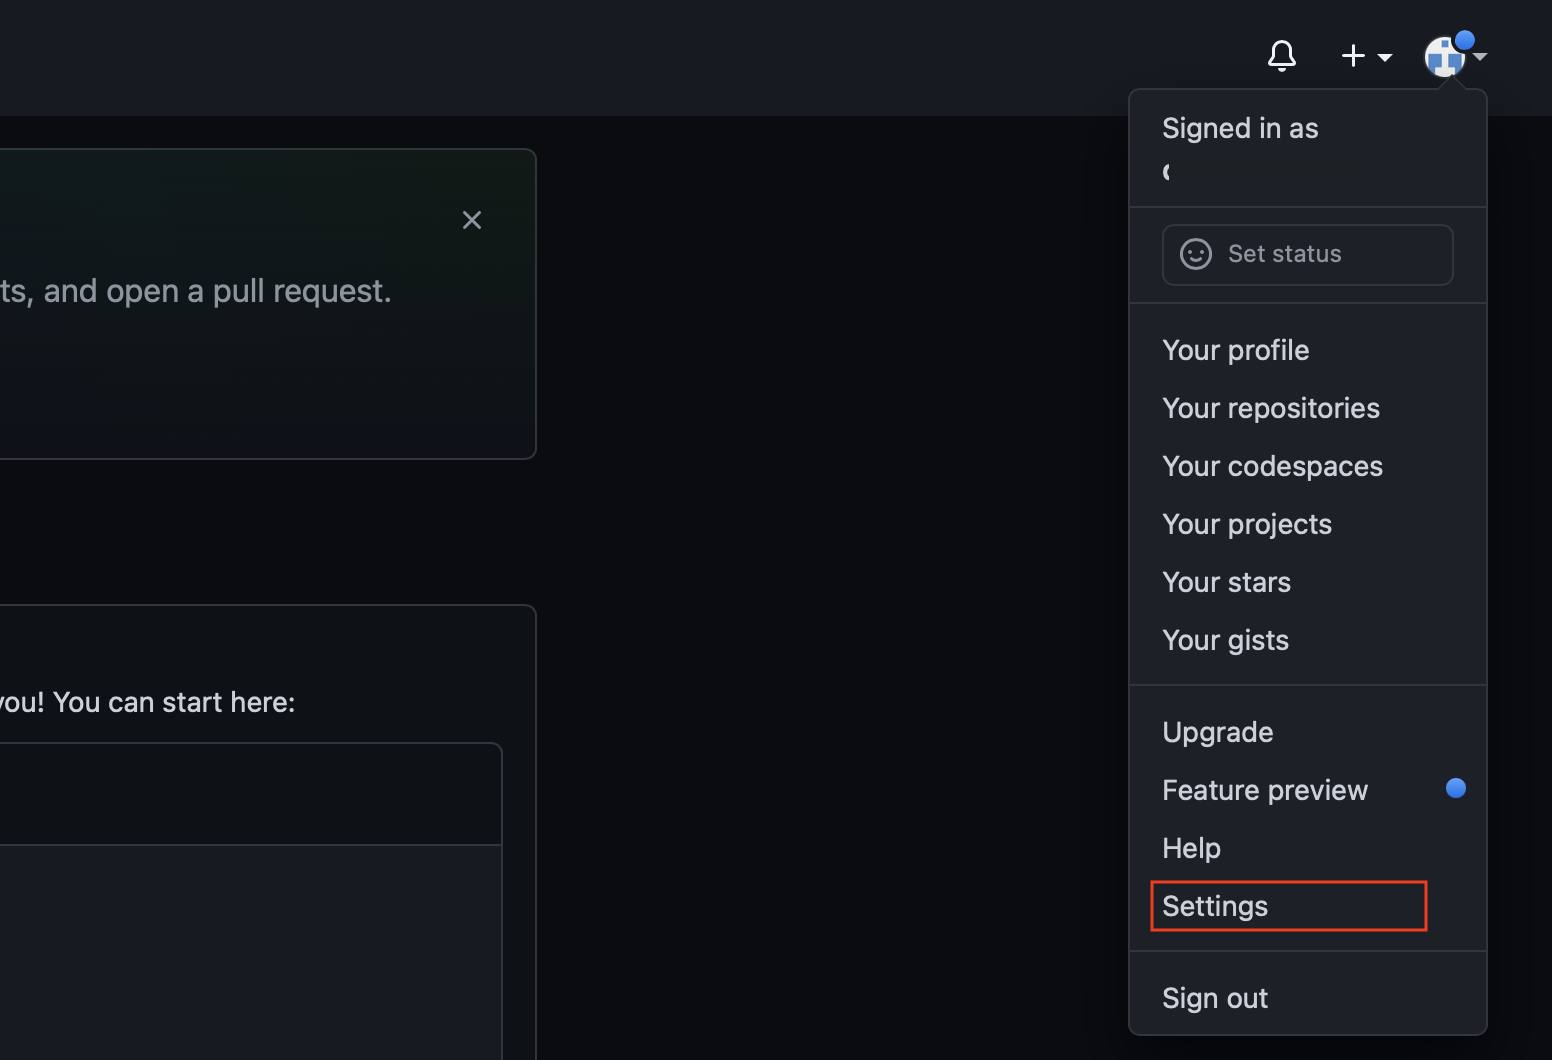
Settings를 누릅니다.
3. GitHub사이트 Developer Settings 페이지 진입
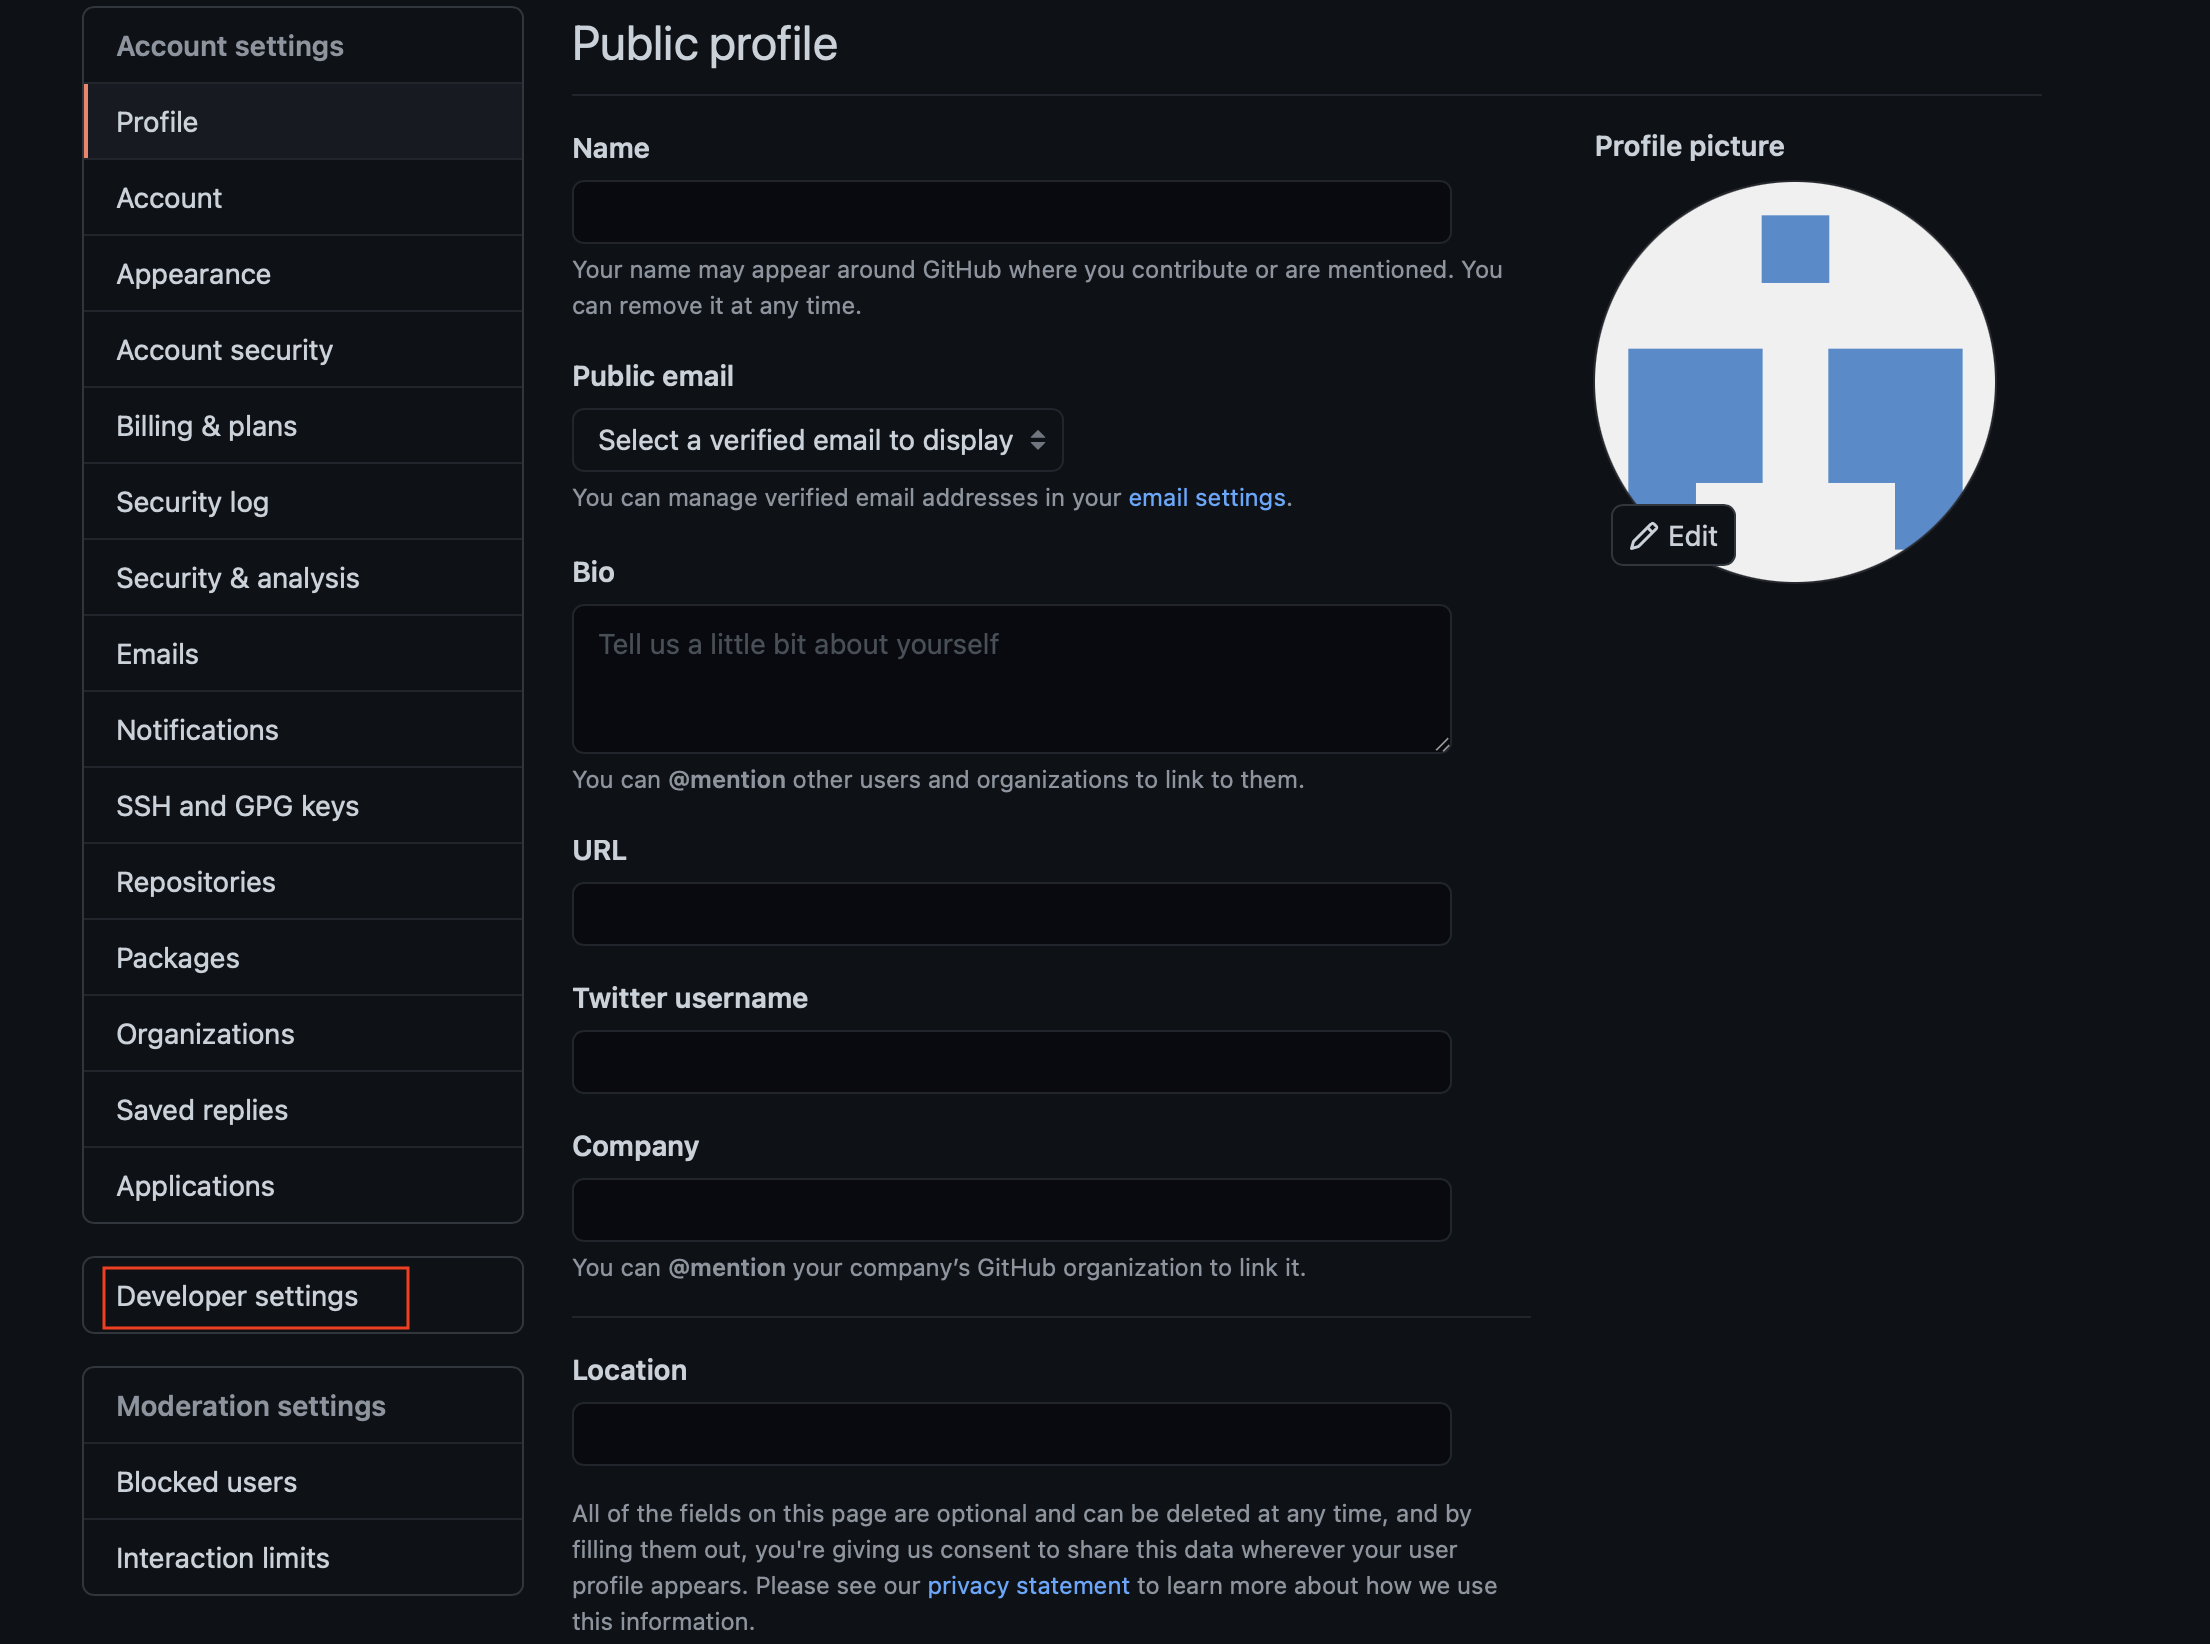
위의 화면이 나타납니다.
Developer Settings 링크를 클릭합니다.
다음의 화면이 나타납니다.

4. GitHub사이트 Personal access tokens 페이지 진입
위의 이미지에서 Personal access tokens를 클릭하면 다음의 화면이 나타납니다.

5. access tokens 발급하기
위의 이미지에서 우측 상단에 있는 Generate new token을 클릭합니다.
보안이 중요하므로 한번 더 비밀번호를 묻네요.(아래화면은 안나오기도합니다.) 입력합니다.

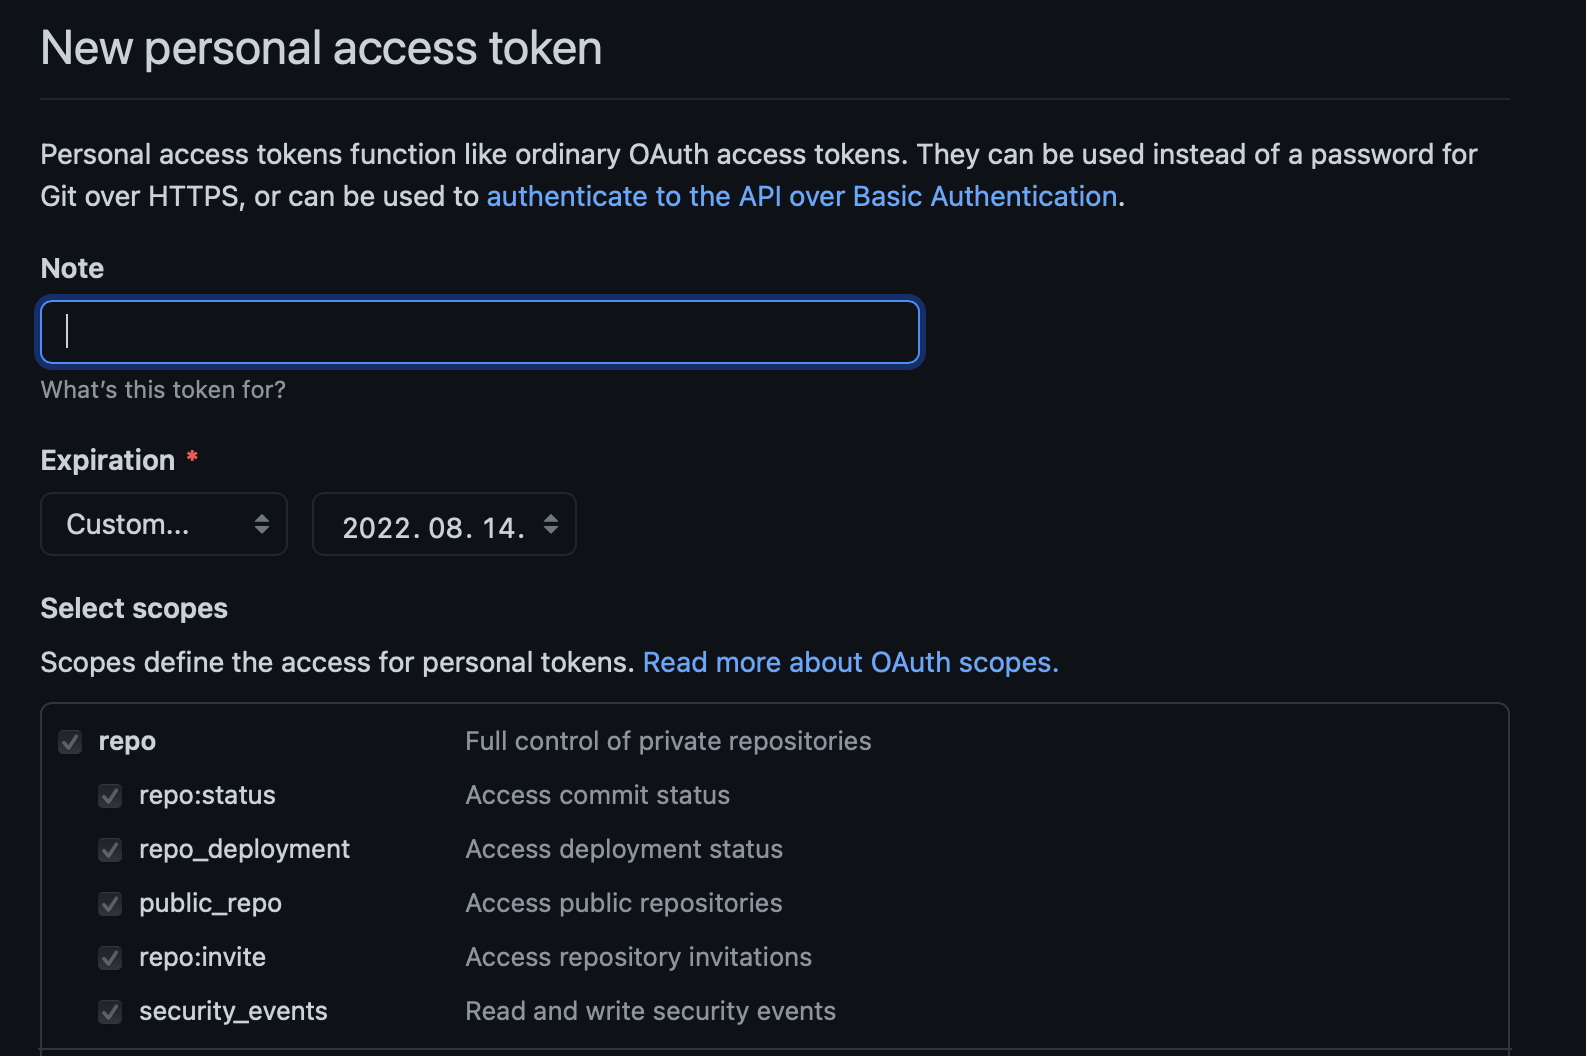
Note에는 대충 이 토큰에 대한 설명등을 적어줍니다. 저는 저장소 이름을 작성했습니다.
Expiration은 발급하려는 토큰의 유효기간을 지정합니다.
저는 최대한 길게 설정했습니다.
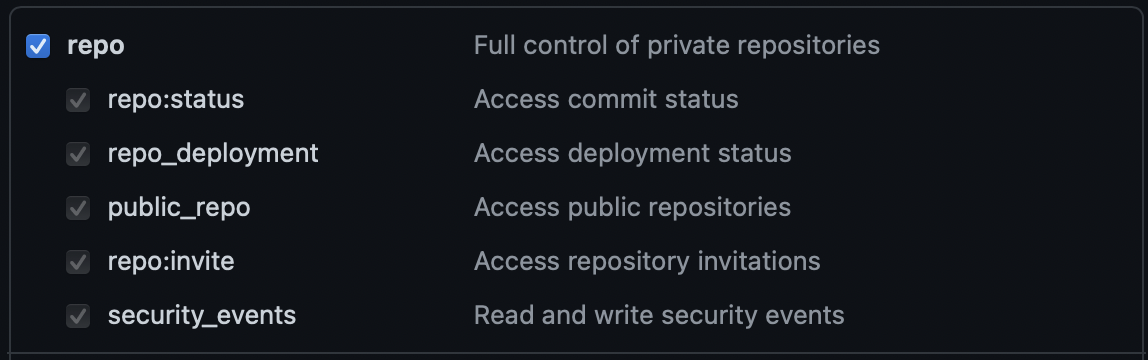
토큰의 범위를 지정하는데 repo는 필수로 체크합니다.
그외 필요한 영역을 체크하고 저는 repo만 체크했습니다.
하단의 Generate token을 클릭합니다.

다음과 같이 토큰값이 나타납니다. 이 값은 중요하므로 절대 타인에게 노출하지 마세요.
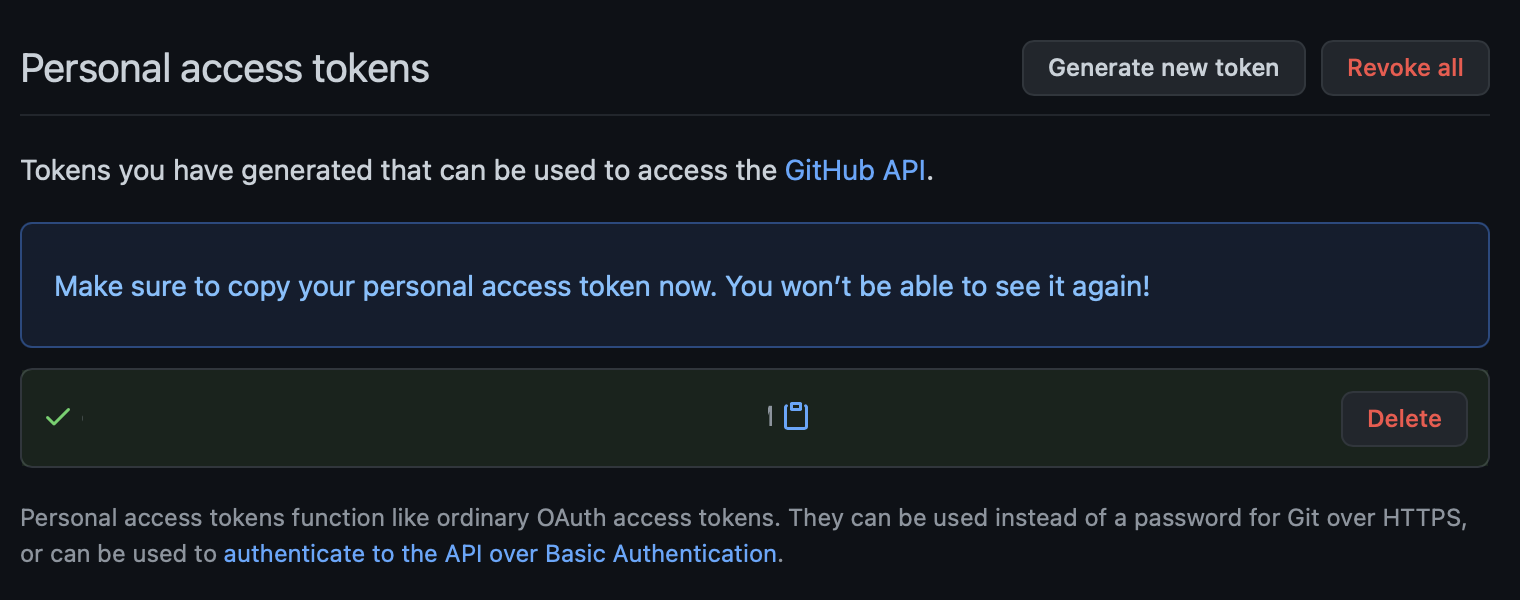
이 토큰값을 복사해서 메모장등에 붙여넣기 해둡니다.
이제 토큰을 깃허브 접속할 때 적용시켜야합니다.
지금 상태에서 맥의 터미널에서 git pull을 하더라도 똑같은 오류메세지가 나타납니다.
6. MacOS 키체인에 토큰 적용하기
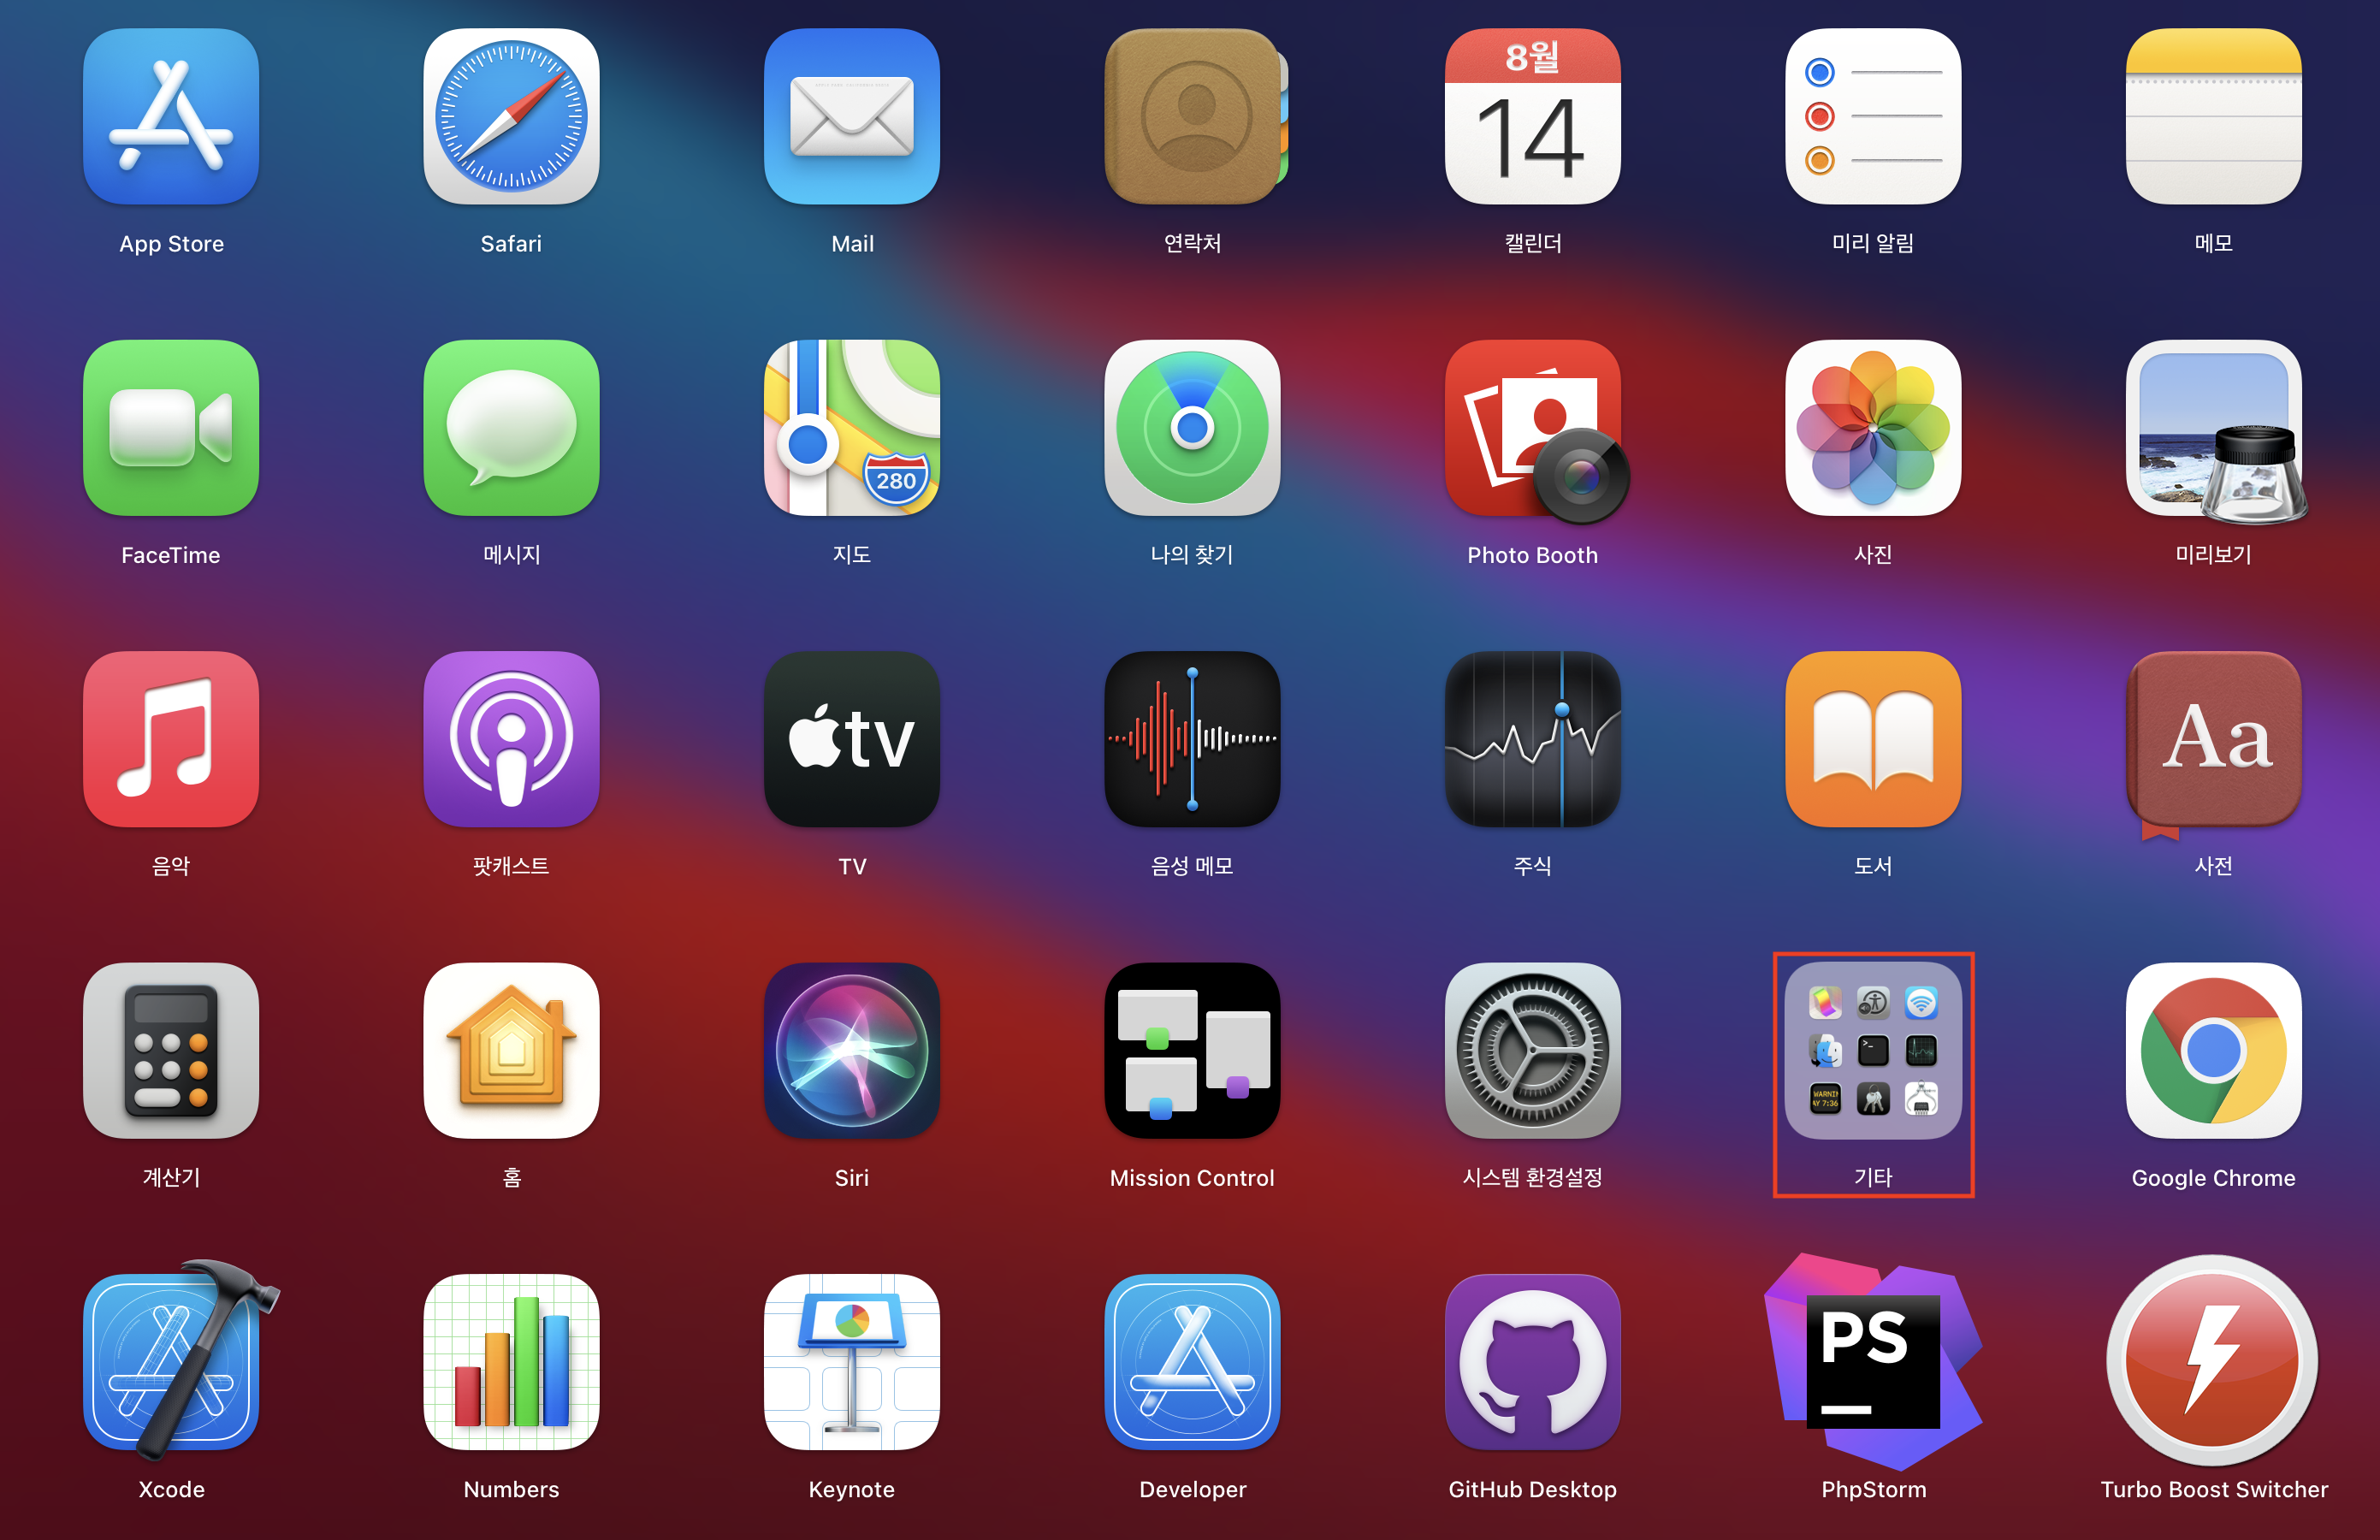
키체인 접근을 열겠습니다.
키체인 접근은 런치패드의 기타에 있습니다.
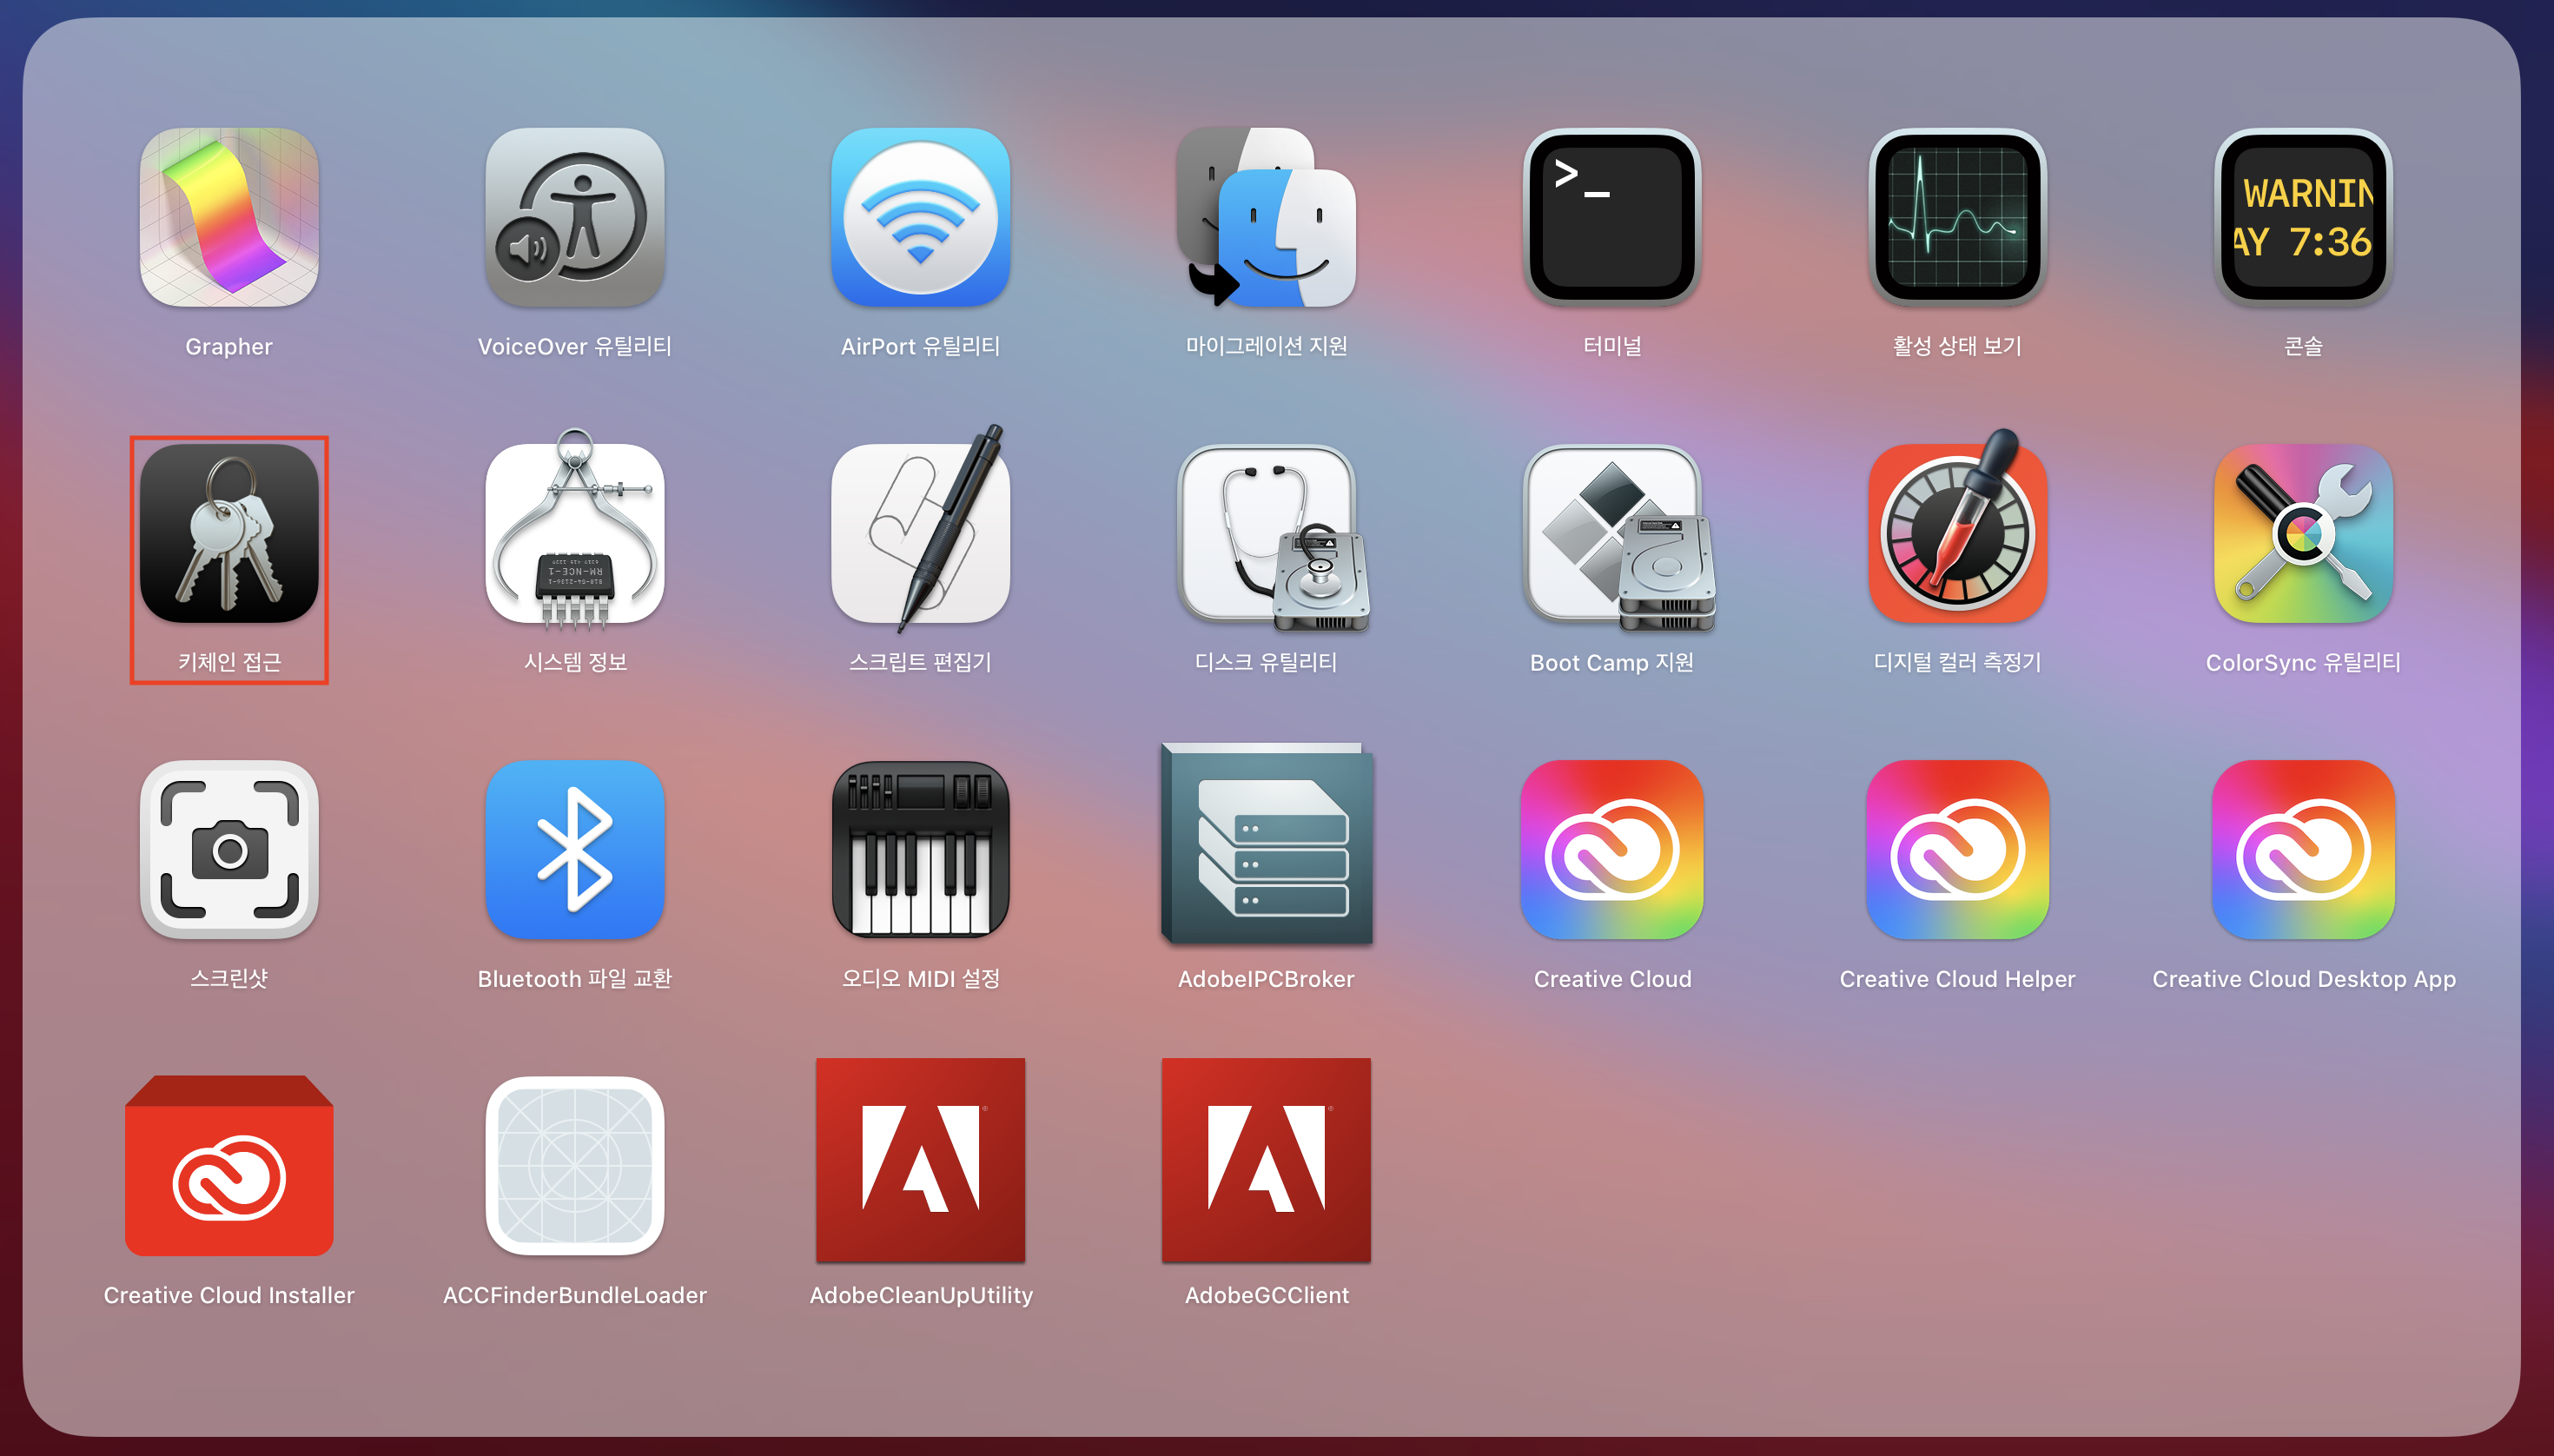
키체인창이 뜨면 상단 우측 검색창에 github를 입력합니다.
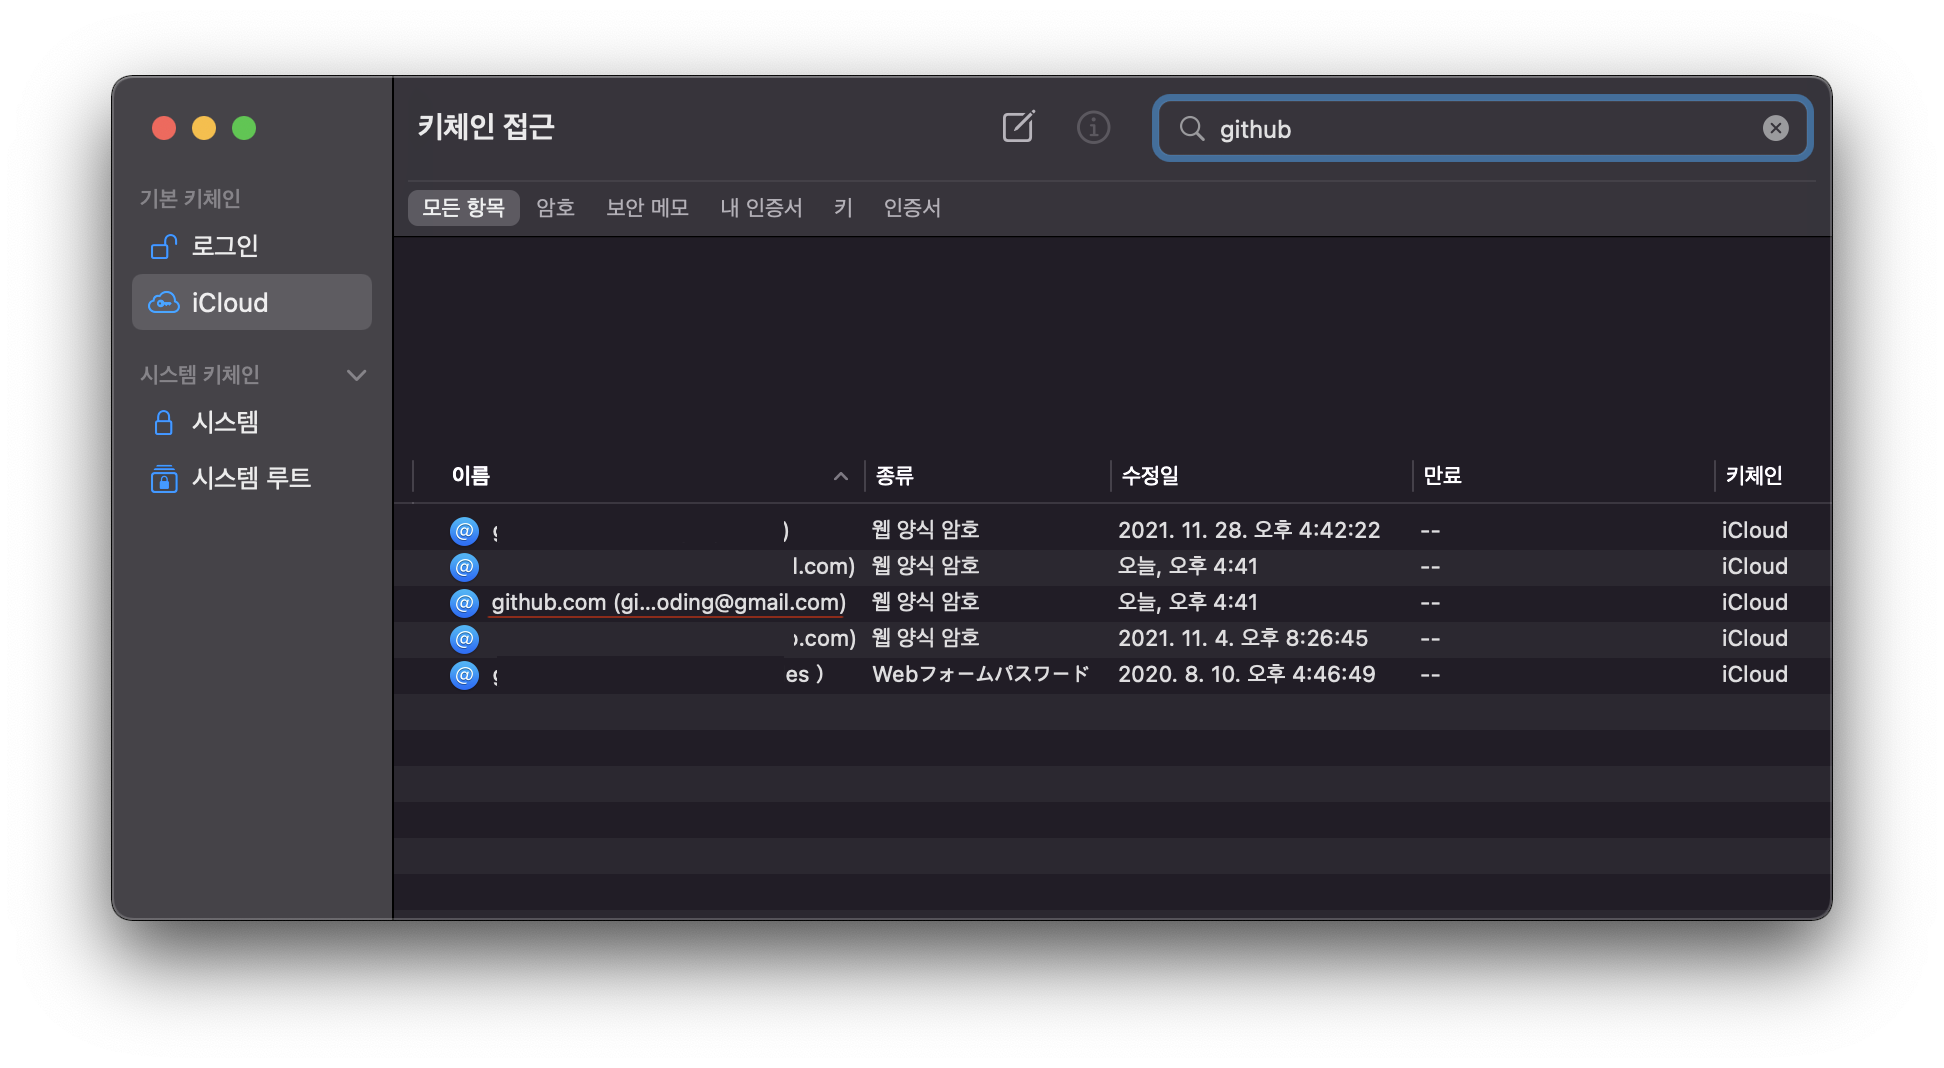
위의 이미지에서 이름은 자신의 계정 이메일이 적힌 정보가 보입니다. 종류는 웹 양식 암호 (또는 인터넷 암호)라고 적힌 키체인을 엽니다.
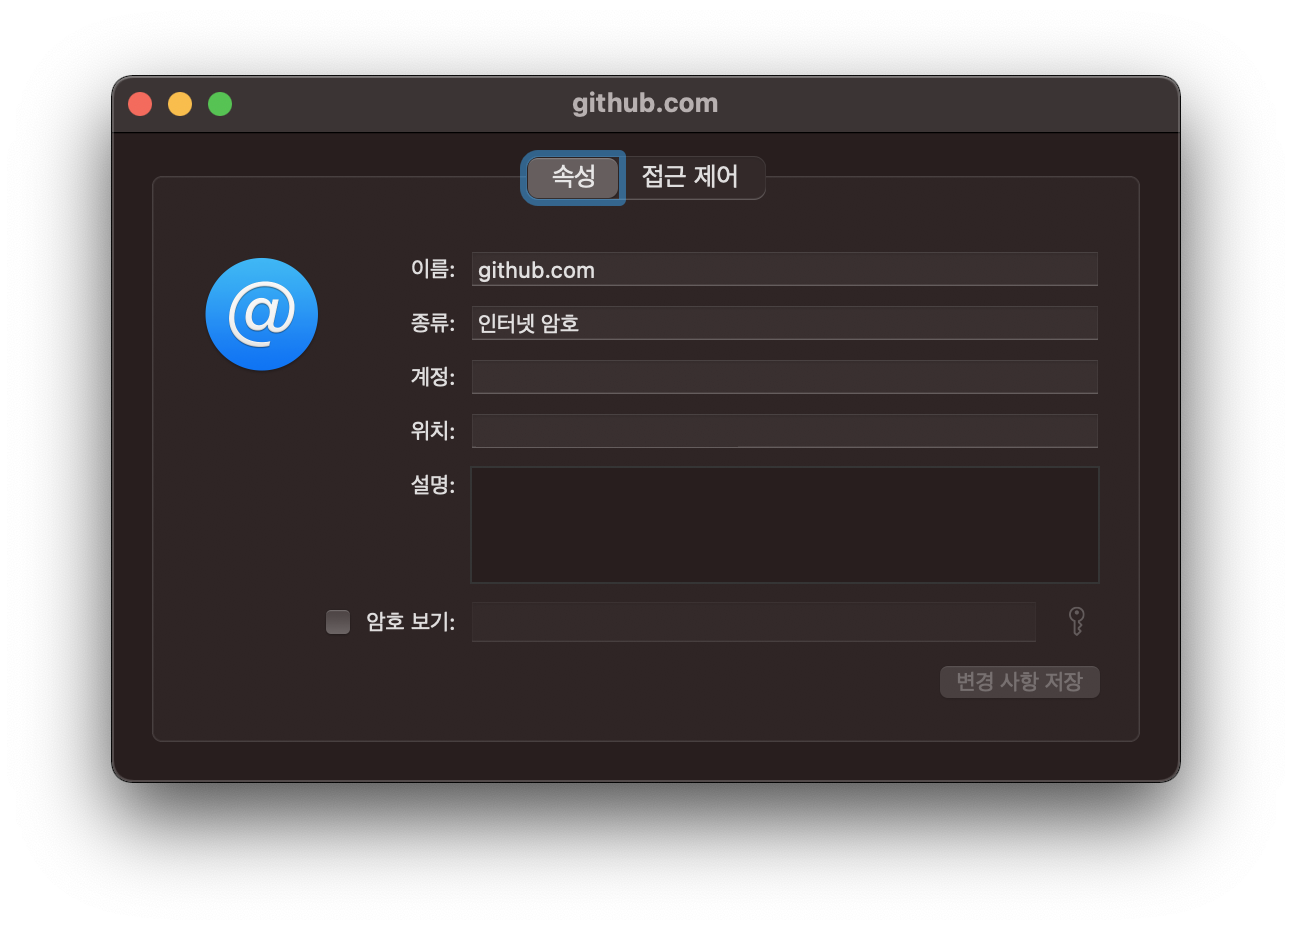
위의 화면이 나타나고 암호 보기를 체크합니다.
그러면 다음과 같이 암호를 묻습니다. MacOS의 암호를 입력합니다.
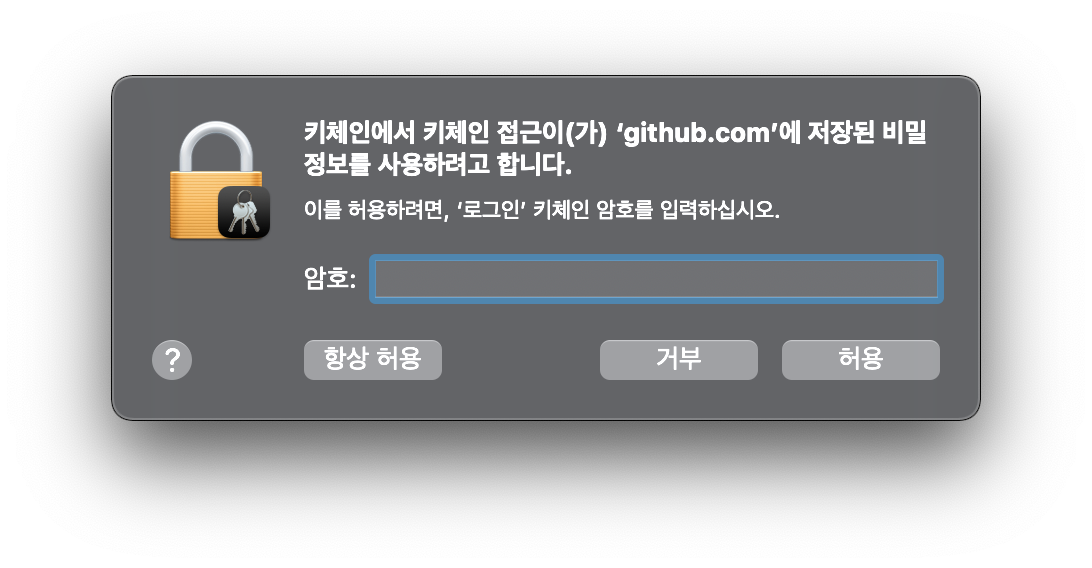
기존에 사용하던 암호가 나타납니다.
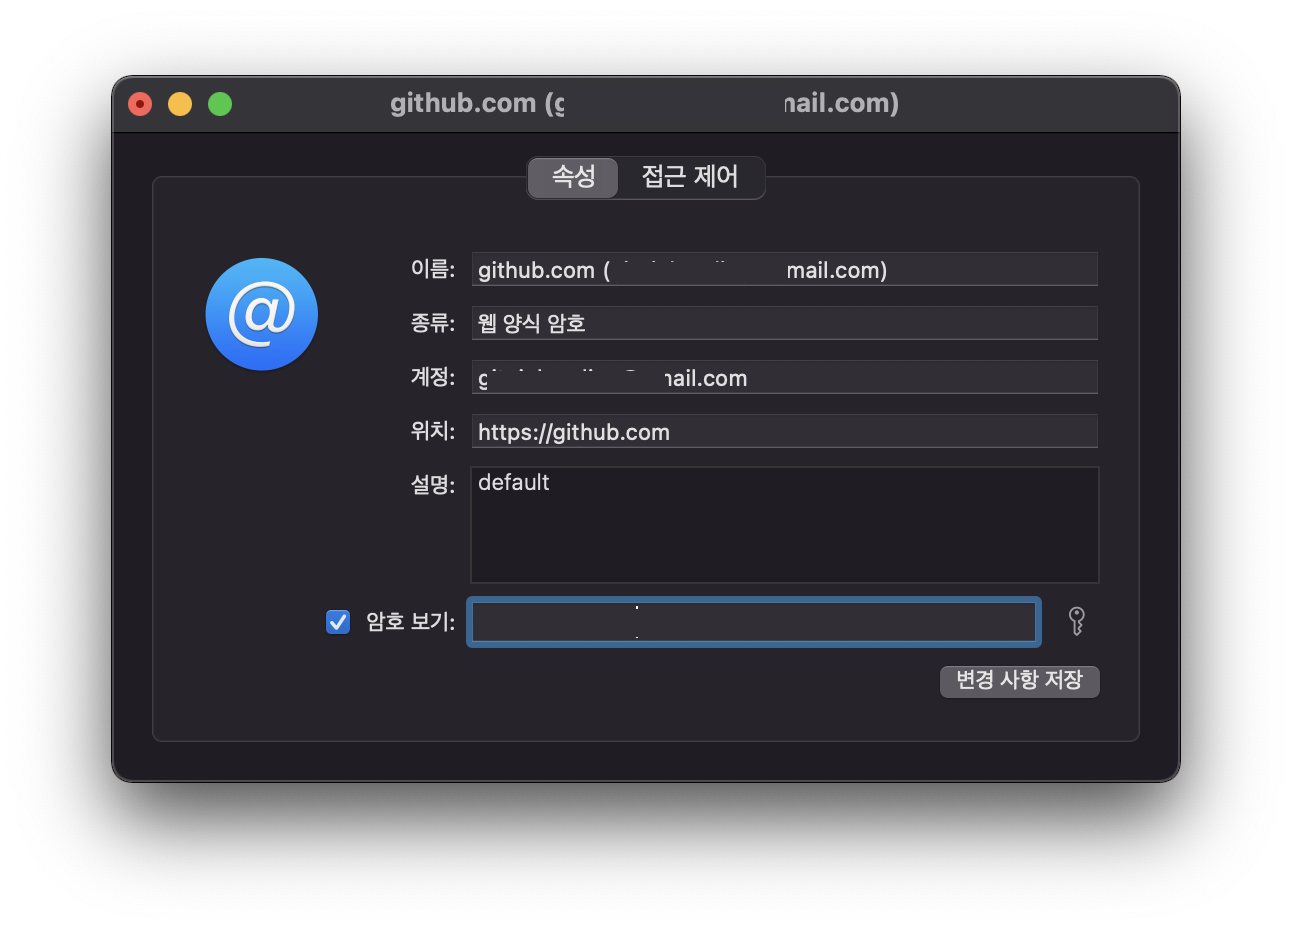
암호를 지우고 이곳에 액세스 토큰을 붙여 넣기하고 변경사항저장을 클릭합니다.
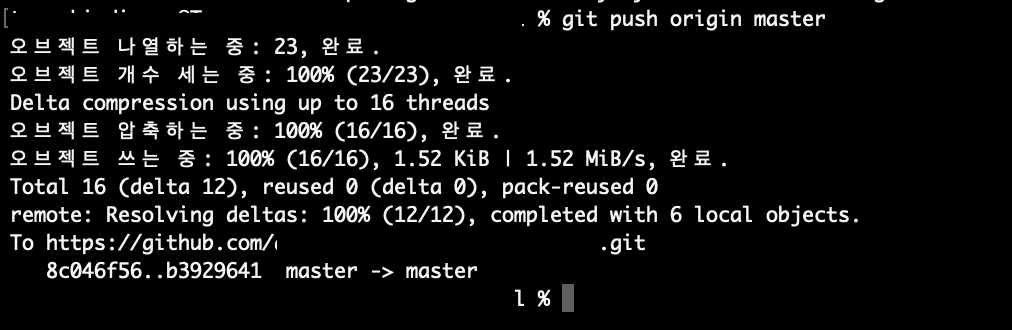
이제 터미널에서 깃허브를 사용할 수 있습니다.
제 깃허브 푸쉬 컨텐츠를 보시던 분들은 아래의 링크를 눌러 다시 컨텐츠 진행 해 주세요.
로컬저장소의 커밋 원격저장소에 올리기(푸쉬)이 챕터의 마지막 페이지입니다.
제가 지금 다른곳에 정신이 팔려있는것 같습니다.
다음 강좌를 원하시면
아래의 요청하기 버튼을 눌러주세요.


