

jQuery
this로 text, html, 속성 조정하기
this로 text, html, 속성 조정하기
오늘은 this()에 대해서 공부해 봅시다.
ㅋㅋㅋ 앞에서 this에 대해서 알아봤었죠?
this로 우리가 클릭한 태그의 html, text, attr의 값을 알아낼 수 있고 또 그 값을 변경할 수 있습니다.
그러면 우리가 여러가지 태그를 만들고 클래스명은 동일하게 한 후 그 안에 html은 다르게 해볼게요.
<div class="click"><p>저를 누르고 저만 눌렀다는 글이 나오게끔 해주세요.</p></div>
<div class="click"><b>저를 누르고 저만 눌렀다는 글이 나오게끔 해주세요.</b></div>
<div class="click"><span>저를 누르고 저만 눌렀다는 글이 나오게끔 해주세요.</span></div>
<div class="click"><section>저를 누르고 저만 눌렀다는 글이 나오게끔 해주세요.</section></div>
자 위와같은 html소스가 있을 때 우리가 누른 태그의 html 코드를 출력하는 방법에 대해 알아볼게요.
$(this).html();
위와 같이 .html을 적으면 우리가 클릭한 태그의 html태그가 나타납니다. 그럼 해봅시다.
<!doctype html>
<html>
<head>
<meta charset="utf-8" />
<title>pinkcoding :: 제이쿼리 강좌</title>
<script type="text/javascript" src="https://code.jquery.com/jquery-3.2.0.min.js" ></script>
<script type="text/javascript">
$(function(){
    $('.click').click(function(){
        alert($(this).html());
    });
});
</script>
</head>
<body>
    <div class="click"><p>저를 누르고 저만 눌렀다는 글이 나오게끔 해주세요.</p></div>
    <div class="click"><b>저를 누르고 저만 눌렀다는 글이 나오게끔 해주세요.</b></div>
    <div class="click"><span>저를 누르고 저만 눌렀다는 글이 나오게끔 해주세요.</span></div>
    <div class="click"><section>저를 누르고 저만 눌렀다는 글이 나오게끔 해주세요.</section></div>
</body>
</html>
결과는 바로 아래에서 확인할 수 있습니다.
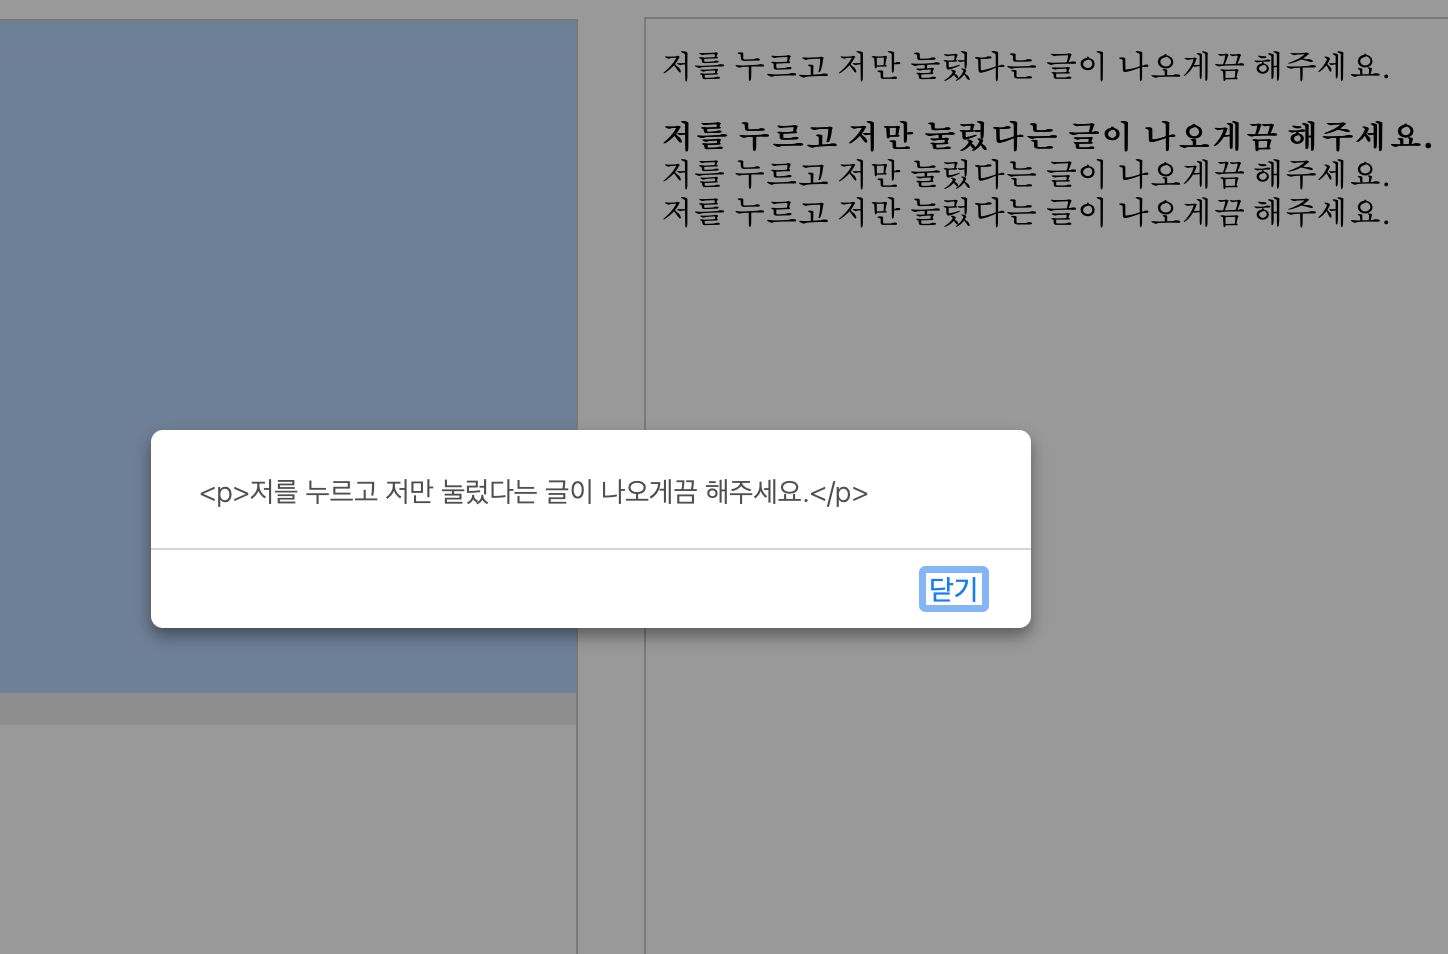
p태그를 가진 첫번째 문구를 누르니 이렇게 p태그와 함께 내용이 나타납니다.
하나하나씩 눌러보면 오호라 하실거에요.
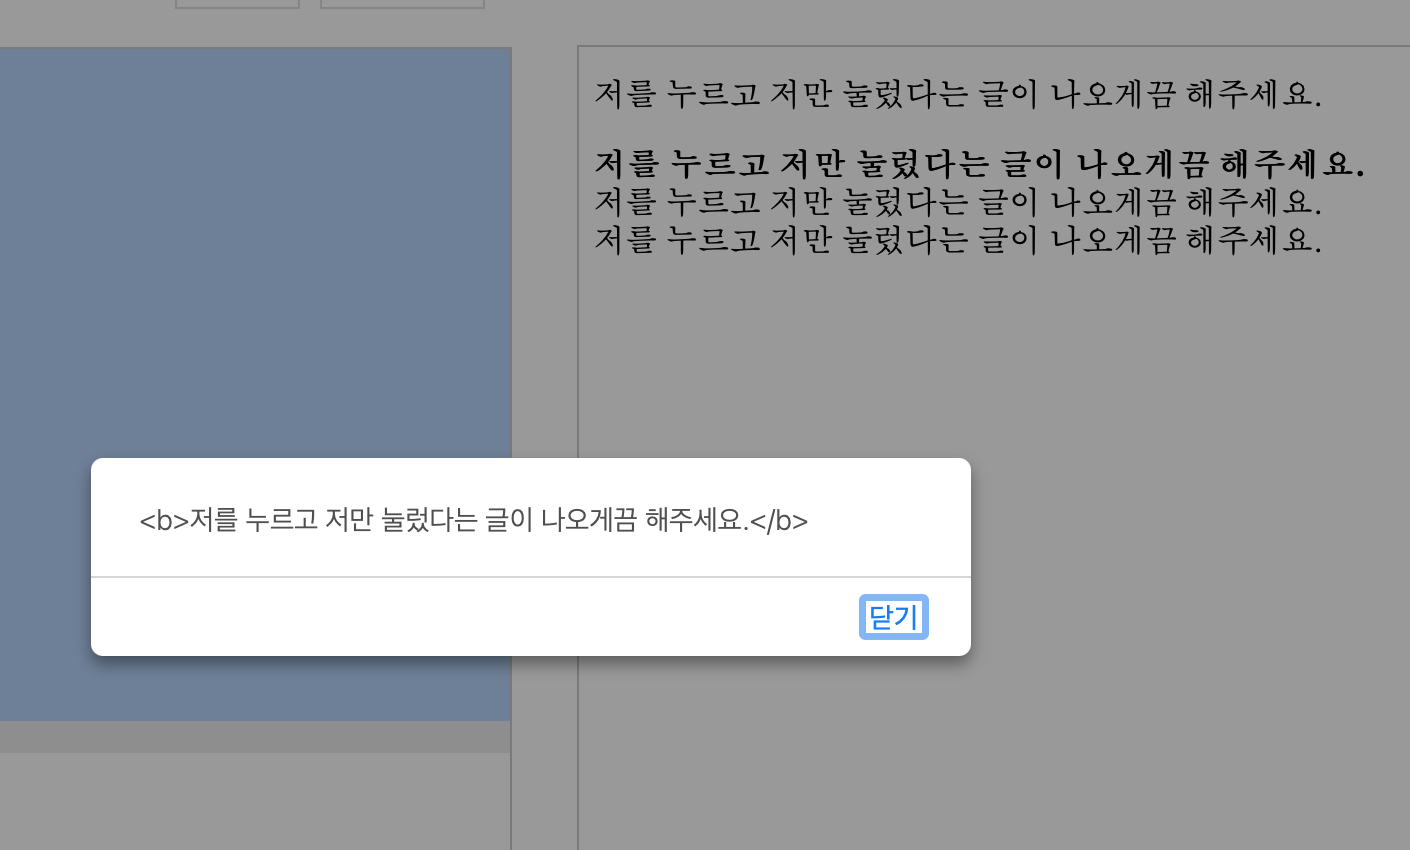
두번째를 누르면
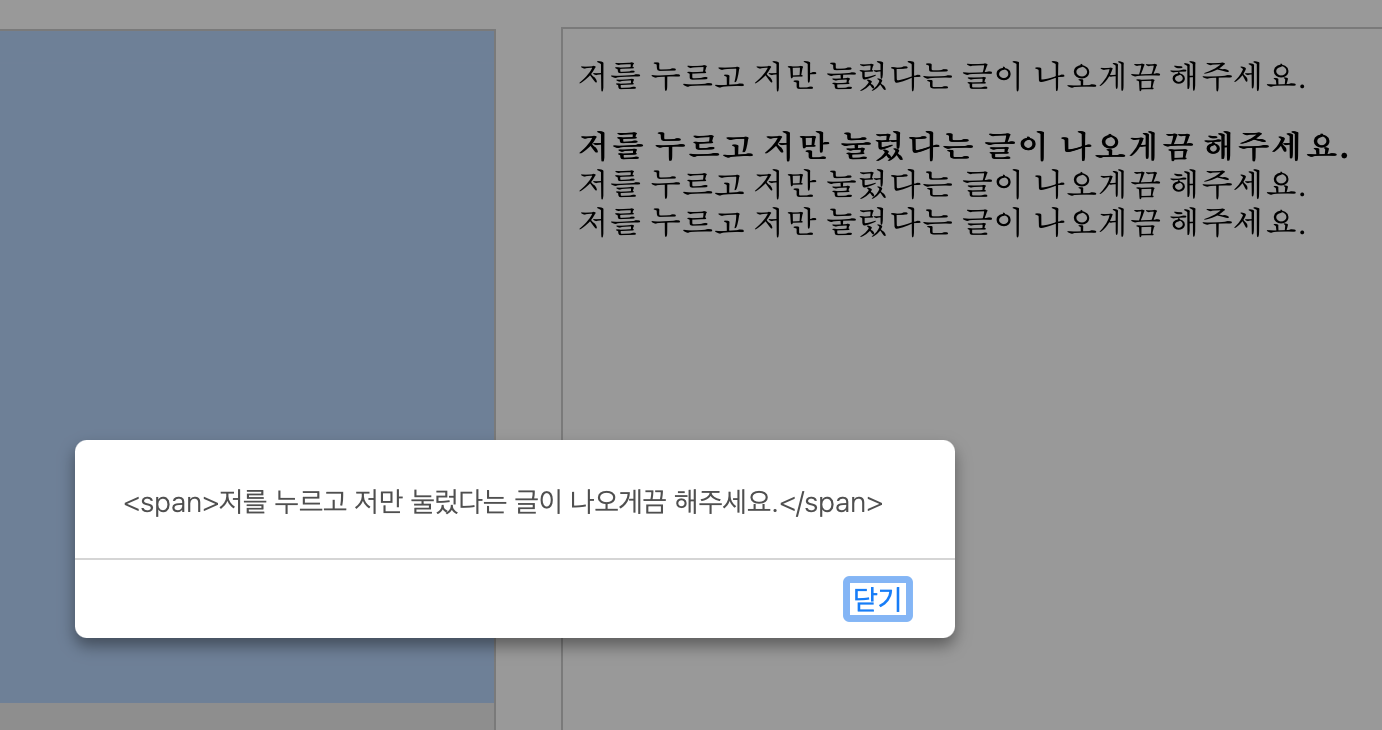
세번째를 누르면
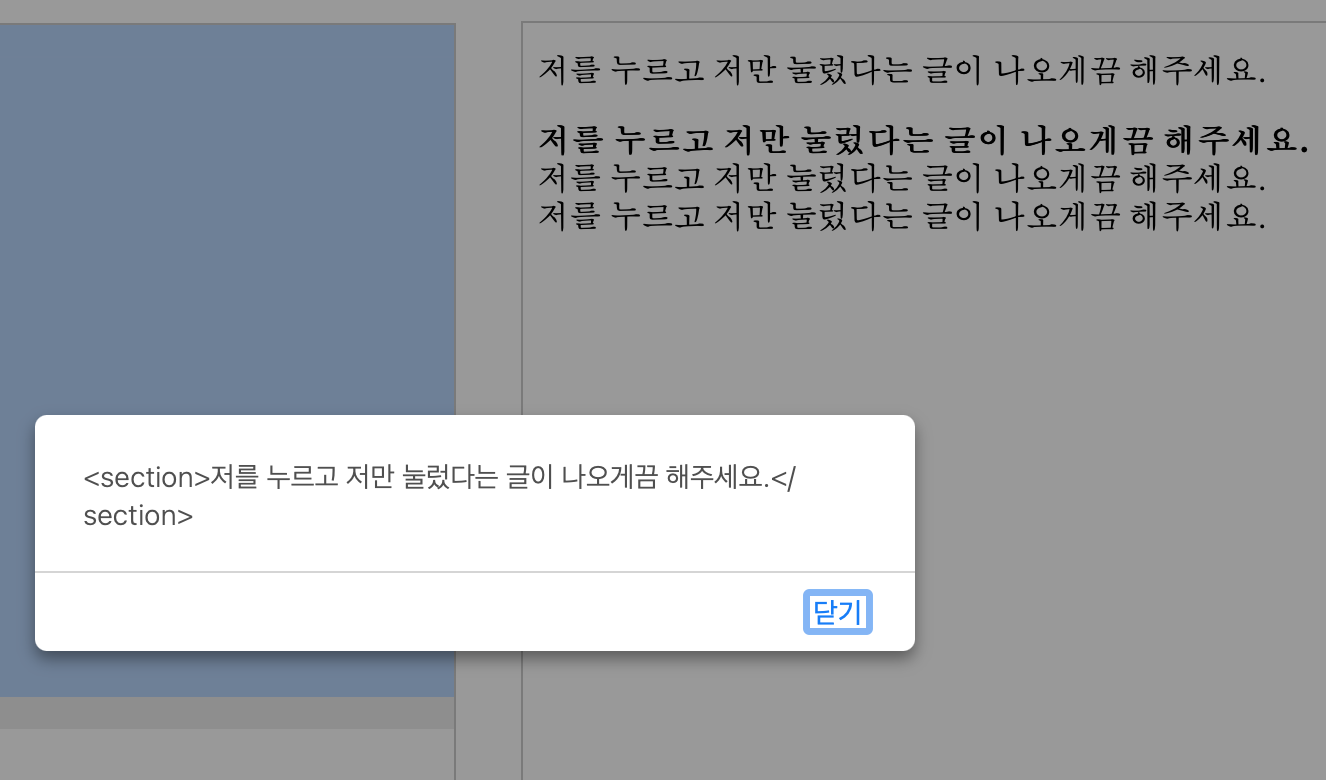
네번째를 누르면
크... 죽이죠?
자 그럼 우리가 앞에서 html 코드 수정하는것도 배웠죠?
첫번째 태그를 변경해볼까요?
<!doctype html>
<html>
<head>
<meta charset="utf-8" />
<title>pinkcoding :: 제이쿼리 강좌</title>
<script type="text/javascript" src="https://code.jquery.com/jquery-3.2.0.min.js" ></script>
<script type="text/javascript">
$(function(){
$('.click').click(function(){
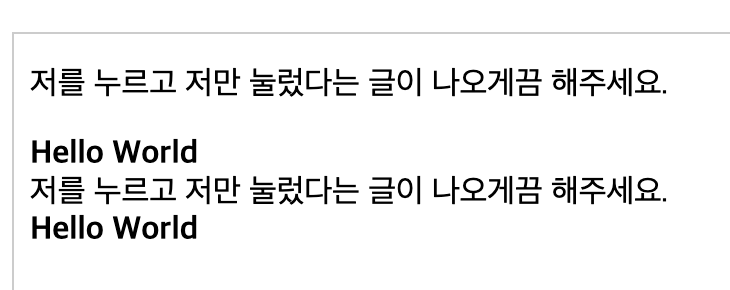
$(this).html('<b>Hello World</b>')
});
});
</script>
</head>
<body>
<div class="click"><p>저를 누르고 저만 눌렀다는 글이 나오게끔 해주세요.</p></div>
<div class="click"><b>저를 누르고 저만 눌렀다는 글이 나오게끔 해주세요.</b></div>
<div class="click"><span>저를 누르고 저만 눌렀다는 글이 나오게끔 해주세요.</span></div>
<div class="click"><section>저를 누르고 저만 눌렀다는 글이 나오게끔 해주세요.</section></div>
</body>
</html>
결과는 바로 아래에서 확인할 수 있습니다.
자 이렇게 하나 하나 클릭해서 변화를 볼 수 있습니다.
자 그럼 이번에는 text를 변경해 볼까요? text도 사실 앞에서 공부해서 알고 계시죠.
그냥 예제로 돌릴게요.
클릭하면 해당 텍스트를 보여주는 예제랑 클릭하면 텍스트가 변경되는 예제 2개 만들게요.
<!doctype html>
<html>
<head>
<meta charset="utf-8" />
<title>pinkcoding :: 제이쿼리 강좌</title>
<script type="text/javascript" src="https://code.jquery.com/jquery-3.2.0.min.js" ></script>
<script type="text/javascript">
$(function(){
$('.click').click(function(){
$(this).text('Hello World');
});
});
</script>
</head>
<body>
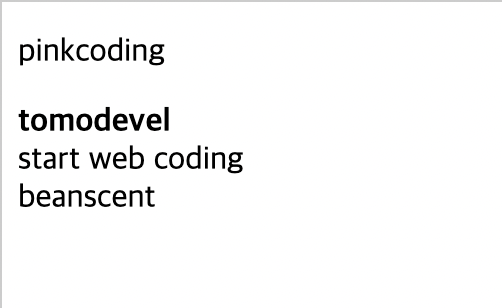
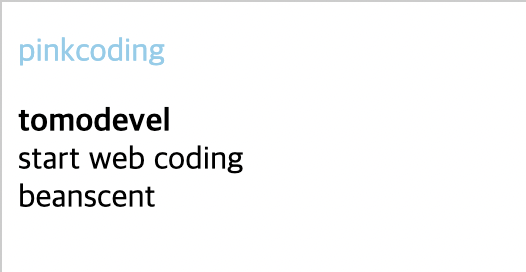
<div class="click"><p>pinkcoding</p></div>
<div class="click"><b>tomodevel</b></div>
<div class="click"><span>start web coding</span></div>
<div class="click"><section>beanscent</section></div>
</body>
</html>
결과는 바로 아래에서 확인할 수 있습니다.
자, 2개를 눌러보았는데 2개다 Hello World로 변경되었습니다.
이번에는 클릭한것만 텍스트를 뽑아볼게요.
<!doctype html>
<html>
<head>
<meta charset="utf-8" />
<title>pinkcoding :: 제이쿼리 강좌</title>
<script type="text/javascript" src="https://code.jquery.com/jquery-3.2.0.min.js" ></script>
<script type="text/javascript">
$(function(){
$('.click').click(function(){
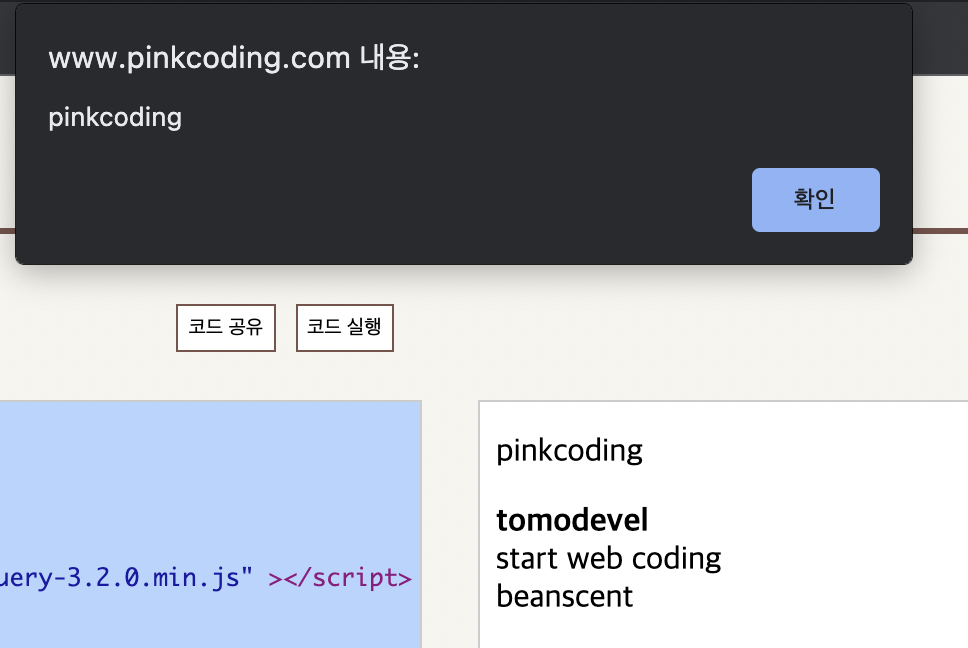
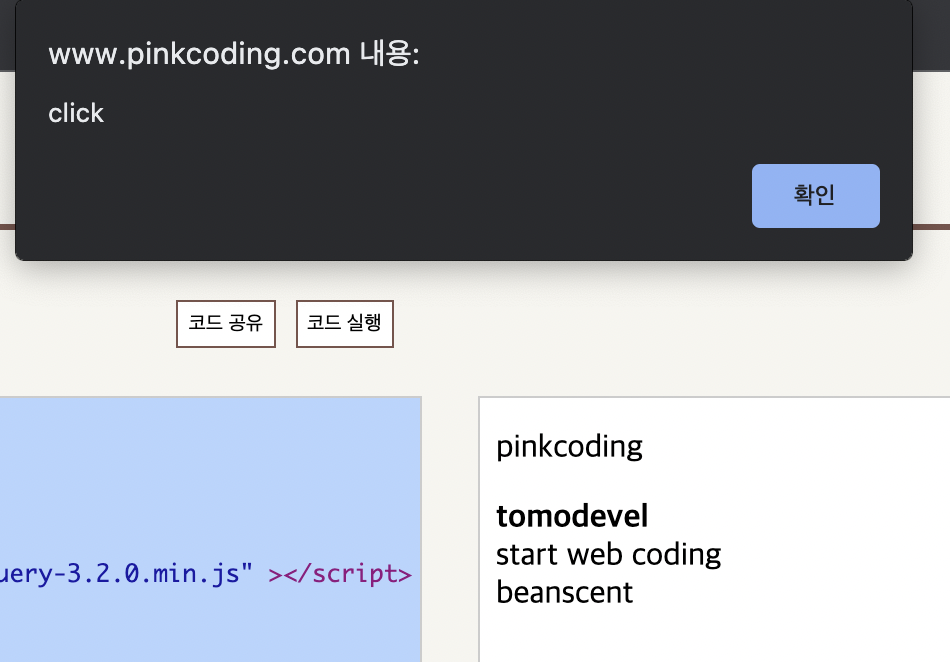
alert($(this).text());
});
});
</script>
</head>
<body>
<div class="click"><p>pinkcoding</p></div>
<div class="click"><b>tomodevel</b></div>
<div class="click"><span>start web coding</span></div>
<div class="click"><section>beanscent</section></div>
</body>
</html>
결과는 바로 아래에서 확인할 수 있습니다.
클릭한 태그의 텍스트가 나타납니다.
자 이번에는 html속성을 가져와 봅시다.
속성도 앞에서 공부했었죠.
class도 속성이기 때문에 그럼 class속성을 가져와 봅시다.
<!doctype html>
<html>
<head>
<meta charset="utf-8" />
<title>pinkcoding :: 제이쿼리 강좌</title>
<script type="text/javascript" src="https://code.jquery.com/jquery-3.2.0.min.js" ></script>
<script type="text/javascript">
$(function(){
    $('.click').click(function(){
        alert($(this).attr('class'));
    });
});
</script>
</head>
<body>
    <div class="click"><p>pinkcoding</p></div>
    <div class="click"><b>tomodevel</b></div>
    <div class="click"><span>start web coding</span></div>
    <div class="click"><section>beanscent</section></div>
</body>
</html>
결과는 바로 아래에서 확인할 수 있습니다.
이렇게 class속성의 값을 가져옵니다.
이번에는 style속성의 값을 적용해볼게요.
글씨색을 skyblue로 변경해봅시다.
<!doctype html>
<html>
<head>
<meta charset="utf-8" />
<title>pinkcoding :: 제이쿼리 강좌</title>
<script type="text/javascript" src="https://code.jquery.com/jquery-3.2.0.min.js" ></script>
<script type="text/javascript">
$(function(){
    $('.click').click(function(){
        $(this).attr('style','color:skyblue');
    });
});
</script>
</head>
<body>
    <div class="click"><p>pinkcoding</p></div>
    <div class="click"><b>tomodevel</b></div>
    <div class="click"><span>start web coding</span></div>
    <div class="click"><section>beanscent</section></div>
</body>
</html>
결과는 바로 아래에서 확인할 수 있습니다.
이렇게 클릭한 태그의 색상을 변경할 수 있습니다.
그럼 이번엔 input태그를 만들고 type속성의 값을 바꿔볼까요??
글씨 입력 박스를 버튼으로 바꿔볼게요.
다음의 코드를 사용하겠죠?
$(this).attr('type','button');
<!doctype html>
<html>
<head>
<meta charset="utf-8" />
<title>pinkcoding :: 제이쿼리 강좌</title>
<script type="text/javascript" src="https://code.jquery.com/jquery-3.2.0.min.js" ></script>
<script type="text/javascript">
$(function(){
$('.click').click(function(){
$(this).attr('type','button');
});
});
</script>
</head>
<body>
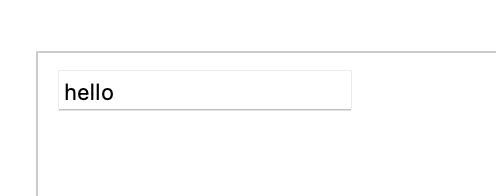
<input type="text" class="click" value="hello" />
</body>
</html>
결과는 바로 아래에서 확인할 수 있습니다.
클릭 전
클릭 후
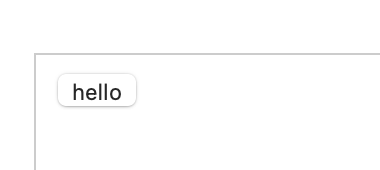
텍스트박스가 버튼으로 변경되었어요.
잘 응용하셔서 사용하시기 바랍니다. ^^


